Set up SSO with Okta
This topic walks you through how to set up Single Sign-On (SSO) between the Alida platform and Okta.
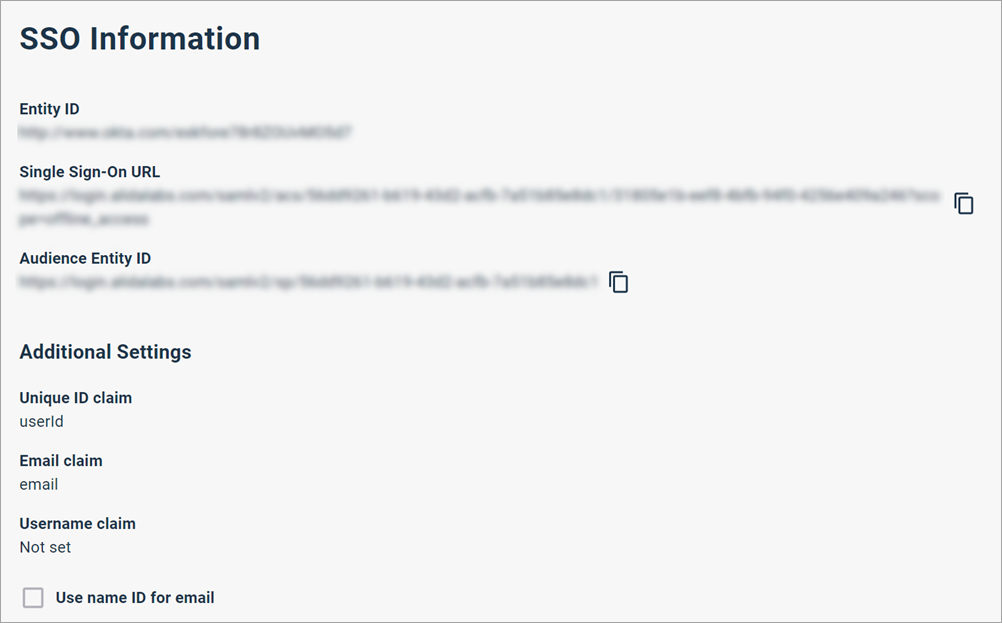
In some cases, only users that are members of verified domains can be added to your community. This occurs if the community-level SSO-only mode is enabled. In this case, a flag is displayed at the top of the SSO Settings page.
In some cases, users may be prevented from signing in with their email and password. This occurs if the domain-level SSO-only mode is enabled for selected domains. In this case, a flag is displayed at the top of the SSO Settings page. You can view the affected users by selecting Product Settings > Manage Users in the navigation bar. The SSO column displays a flag for users that are restricted to SSO login only.

If the SSO column is not included in the Manage Users table, no users are affected.
Create an Okta application
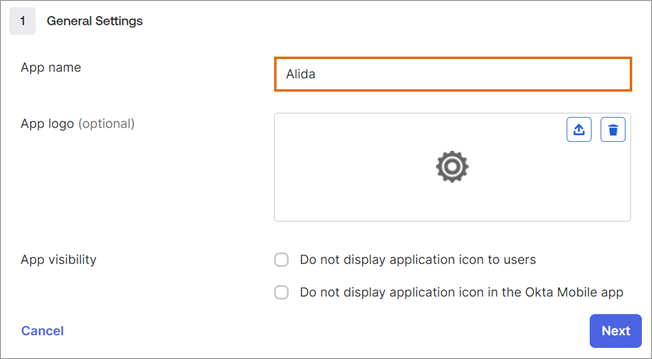
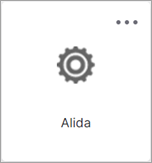
In this part of the workflow, you are creating the application tile that SSO users will click to access the Alida platform.
Start your Okta application configuration
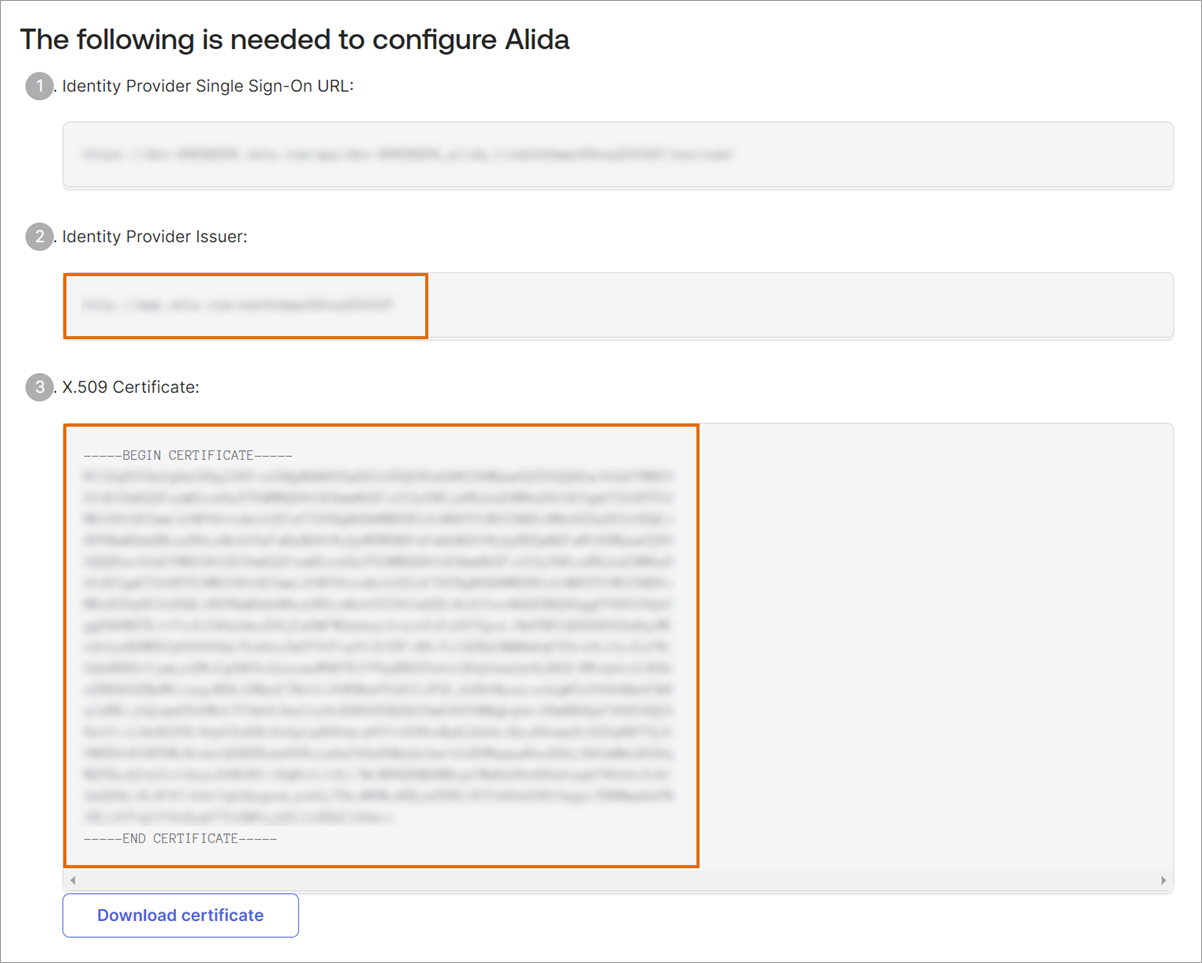
After you create the application tile, you need to copy specific configuration values. You'll enter these values into Alida's SSO Setup page later.
Install Okta SSO on a community
Enter the Okta configuration values into Alida's SSO Setup page.
Users will be unable to authenticate from the time you generate these settings until you complete the SSO configuration in your Identity Provider.
Contact Technical Support to schedule your migration. You must have a member of the Alida Cloud Team available on a call to assist before the migration can proceed.
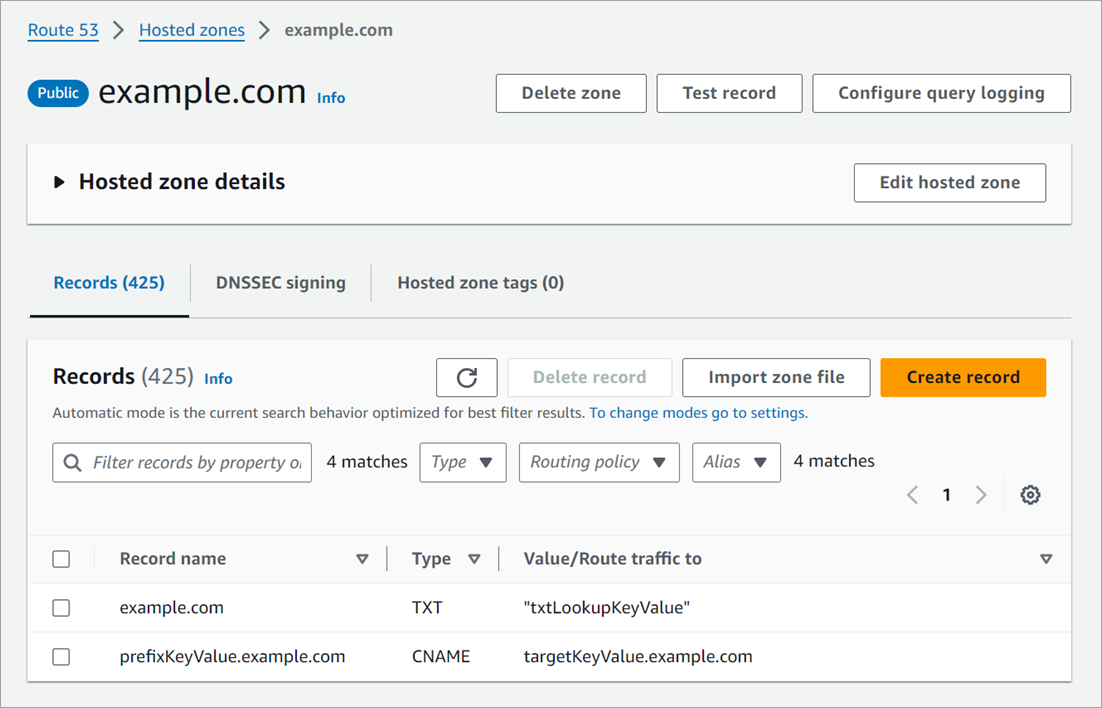
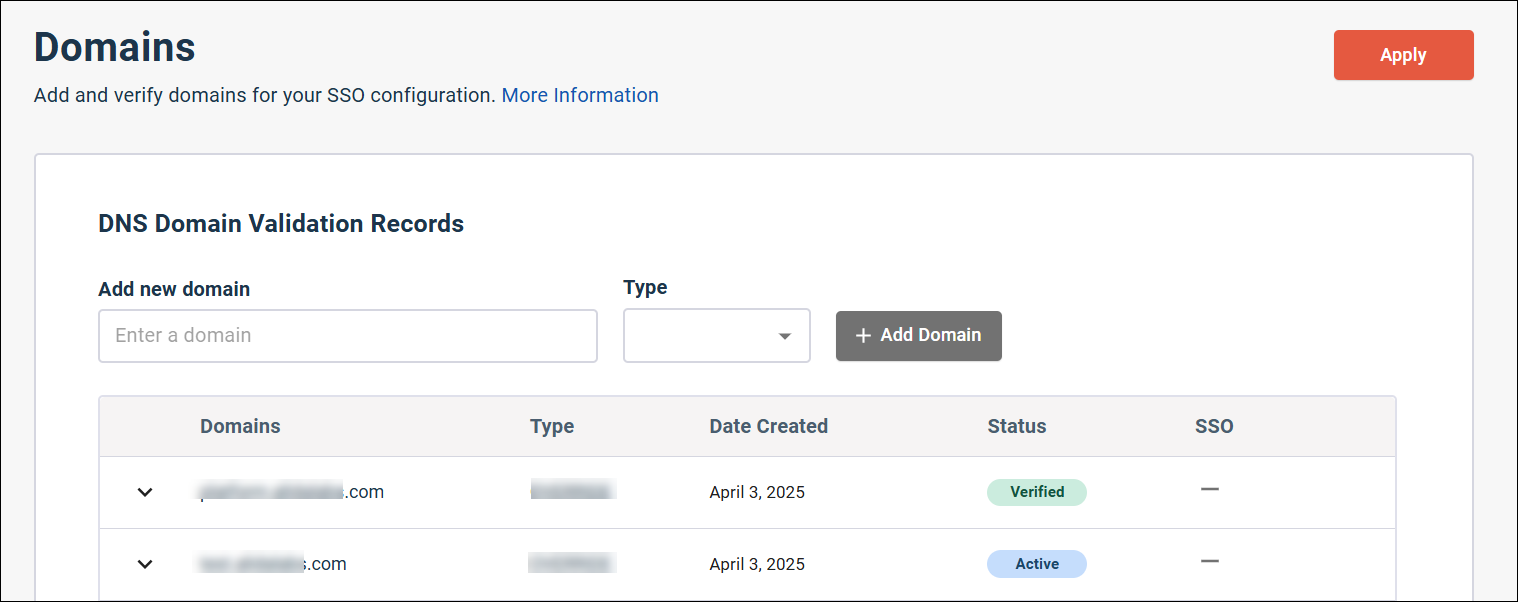
Add and verify a domain
Add the registered domain that your company owns and that you use for employees' email addresses.
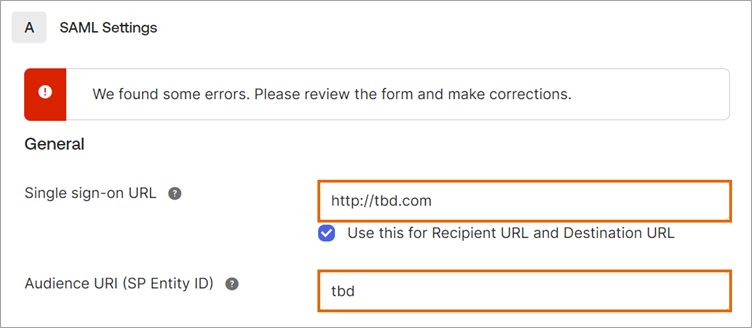
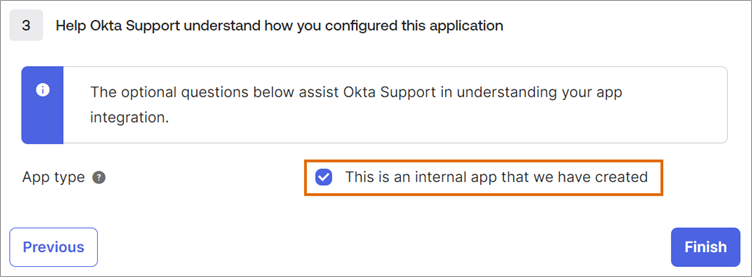
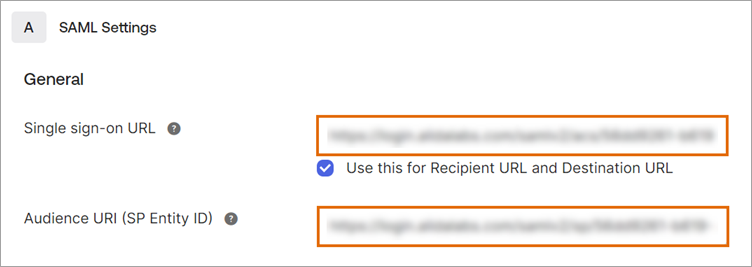
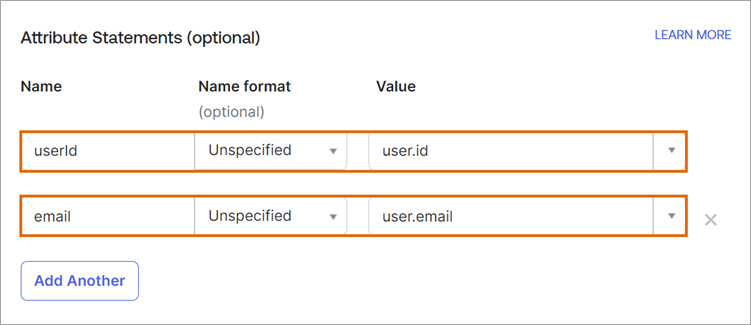
Complete your Okta application configuration
Add a user to the Okta application
In order for SSO to work, the same user must exist in Okta (with the Alida application associated to that user) and in the Alida platform.
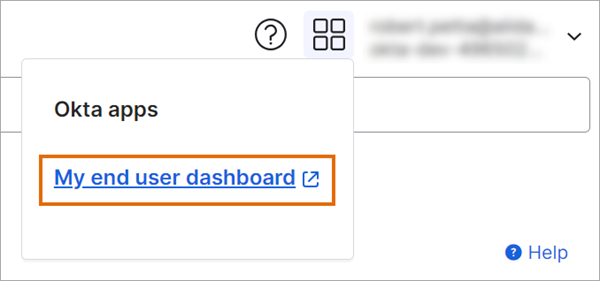
Verify SSO login
