Quick start: SSO setup
This quick reference guide shows you where to look up all the values and certificates you need to set up Single Sign-On (SSO). Click the thumbnail images to view a larger version.
Contact Technical Support to plan for the migration and schedule a time with the Alida cloud team. The migration can proceed when a member of the Alida cloud team is available on a call to provide assistance.
In some cases, only users that are members of verified domains can be added to your community. This occurs if the community-level SSO-only mode is enabled. In this case, a flag is displayed at the top of the SSO Settings page.
In some cases, users may be prevented from signing in with their email and password. This occurs if the domain-level SSO-only mode is enabled for selected domains. In this case, a flag is displayed at the top of the SSO Settings page. You can view the affected users by selecting Product Settings > Manage Users in the navigation bar. The SSO column displays a flag for users that are restricted to SSO login only.

If the SSO column is not included in the Manage Users table, no users are affected.
Azure quick start
The following table lists the fields that you need to configure in the Alida SSO Settings page, and the corresponding fields in Azure with the required information.
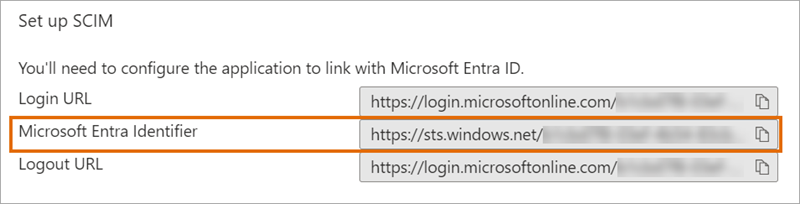
| Azure SAML-based Sign-on page | Alida SSO Settings page |
|---|---|
|
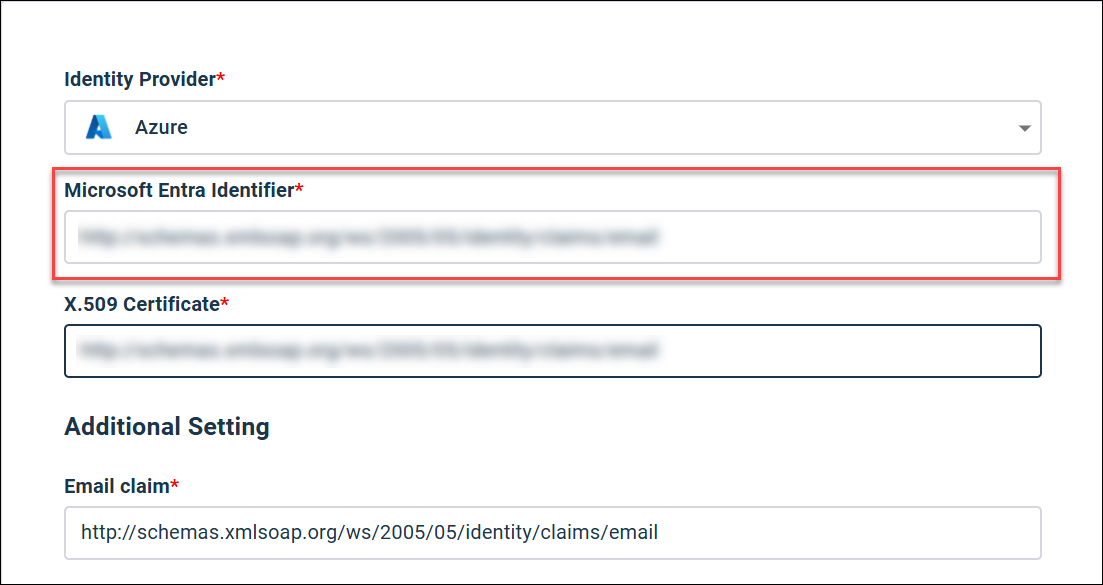
From: Microsoft Entra Identifier
|
Entity ID
|
|
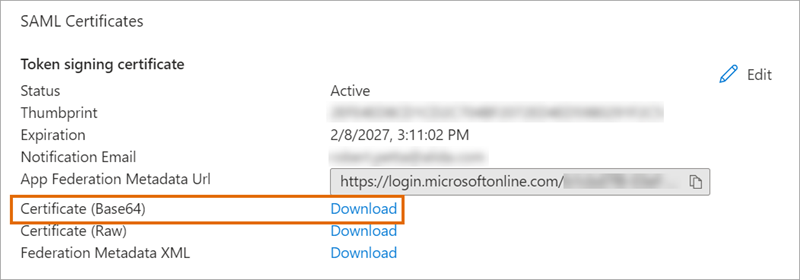
From: Certificate (Base64)
|
X.509 Certificate
|

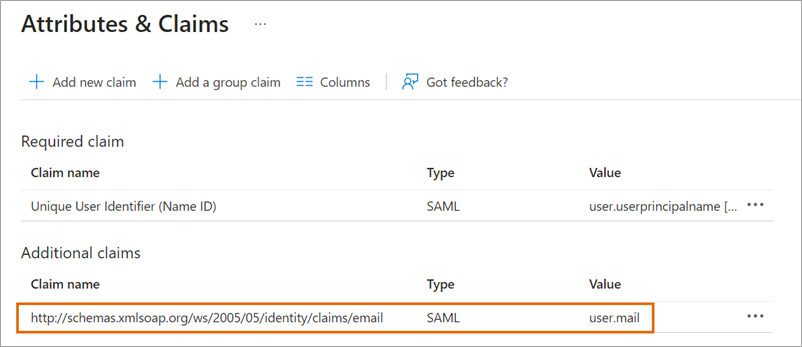
You need to create an Email claim in Azure that maps to the value in the Alida SSO Settings page.
| Azure SAML-based Sign-on page | Alida SSO Settings page |
|---|---|
|
Email claim:
Matches Azure claim:
Important: Ensure that the new claim is added as
http://schemas.xmlsoap.org/ws/2005/05/identity/claims/email
and not
http://schemas.xmlsoap.org/ws/2005/05/identity/claims/email/email.
In some situations, the second
/email path may be added erroneously. The
email claim entry must match the screenshot above.
|
Email claim The Email claim field is populated with the required value by default. 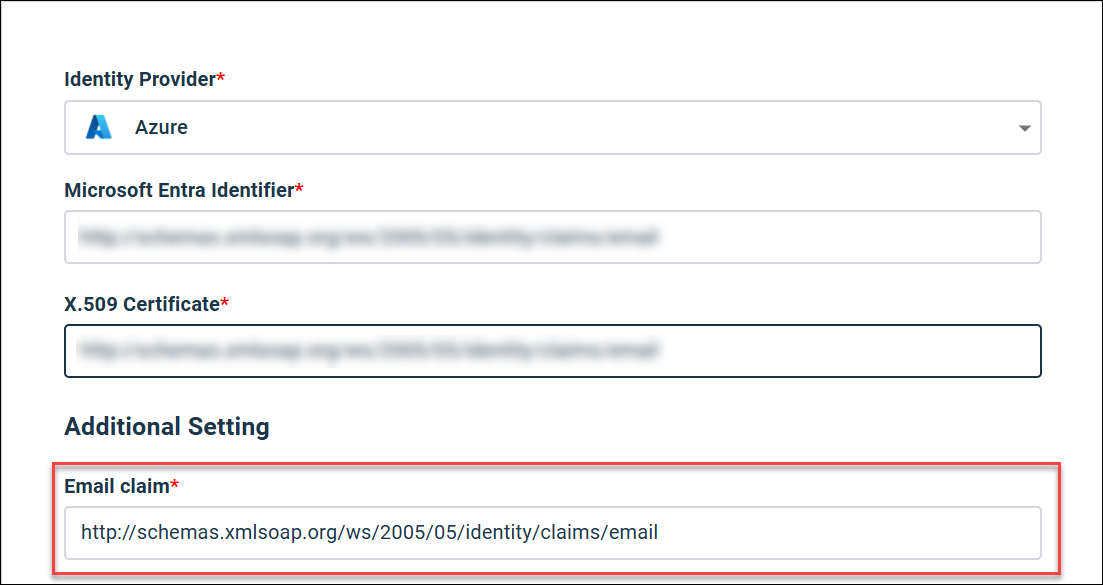
Note: The
Email claim in Alida ends with
/email. This should not be included in the
Namespace field in Azure.
|
After you configure the SSO Settings page in Alida, you need to copy settings from the SSO Information page to your Azure configuration.
| Alida SSO Information page | Azure SAML-based Sign-on page |
|---|---|
|
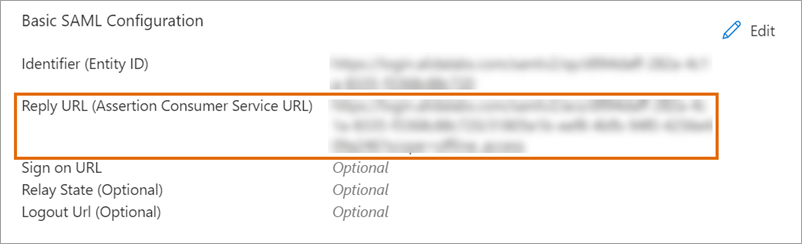
Single Sign-On URL
|
To: Reply URL (Assertion Consumer Service URL)
|
|
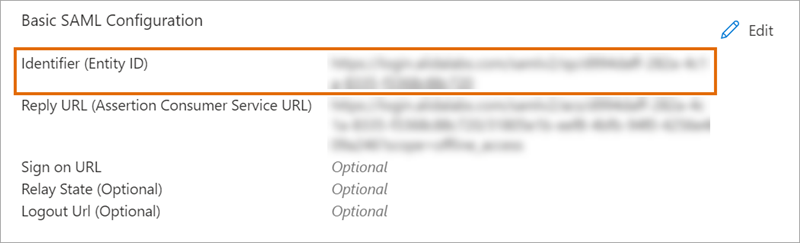
Audience Entity ID
|
To: Identifier (Entity ID)
|

For detailed instructions, see Set up SSO with Azure.
Okta quick start
The following table lists the fields that you need to configure in the Alida SSO Settings page, and the corresponding fields in Okta with the required information.
| Okta | Alida SSO Settings page |
|---|---|
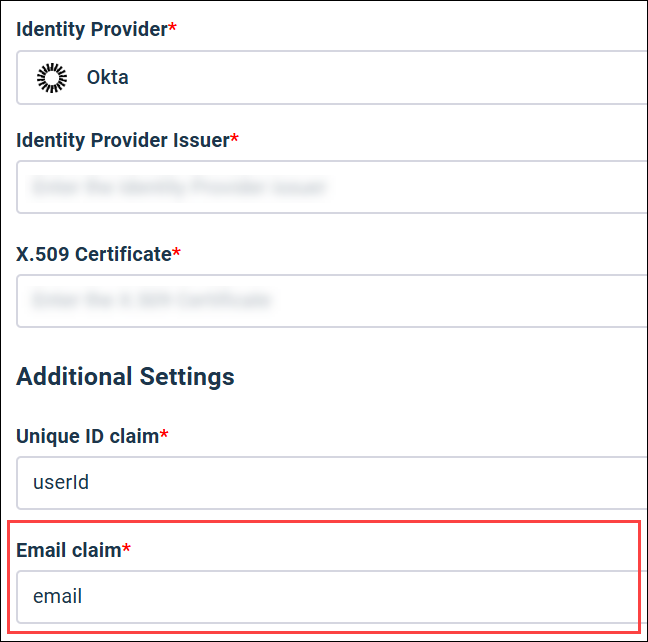
|
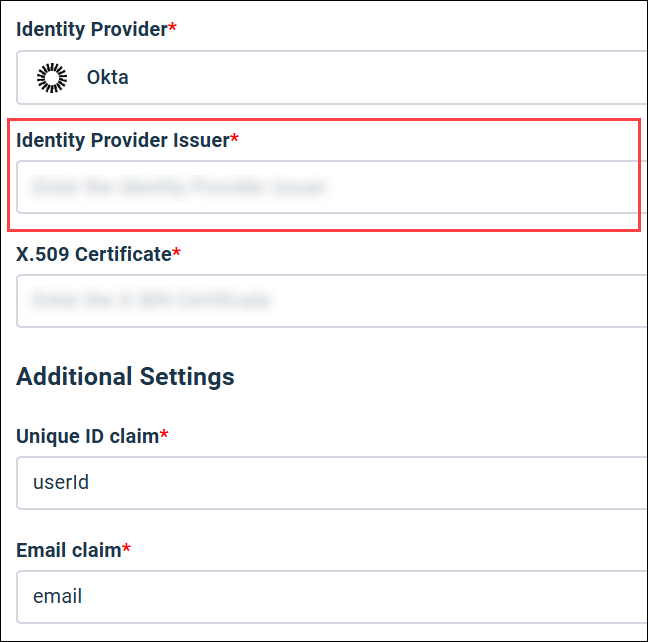
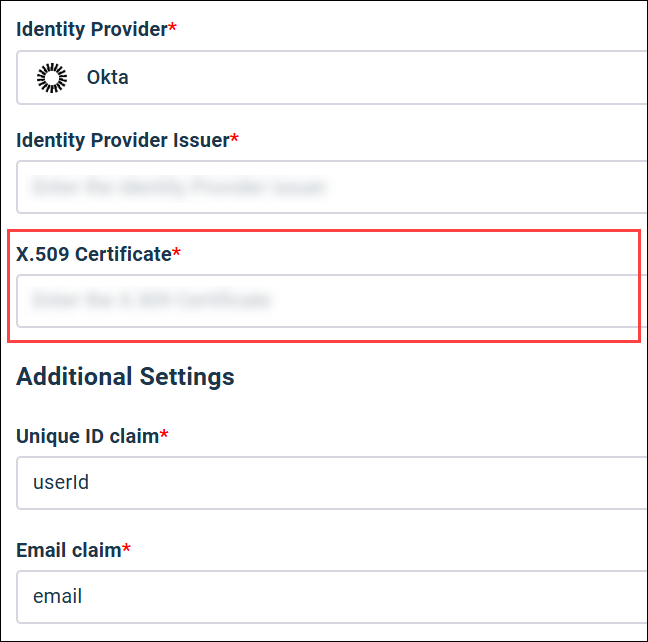
From: Identity Provider Issuer
|
Identity Provider Issuer
|
|
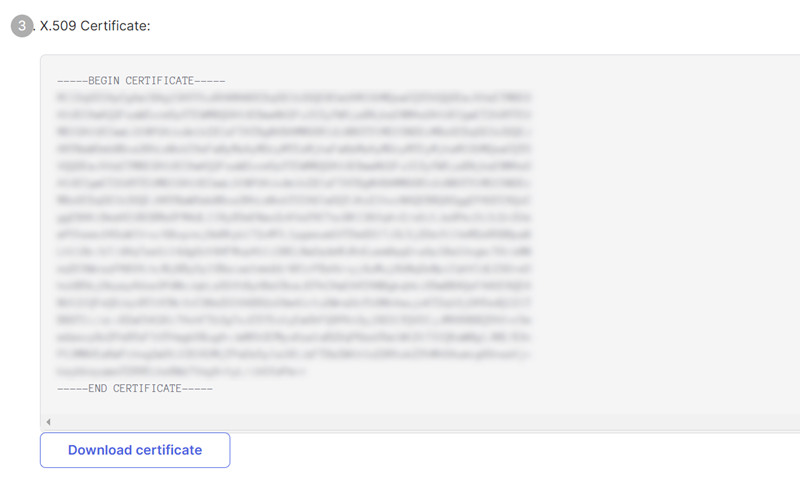
From: X.509 Certificate
|
X.509 Certificate
|
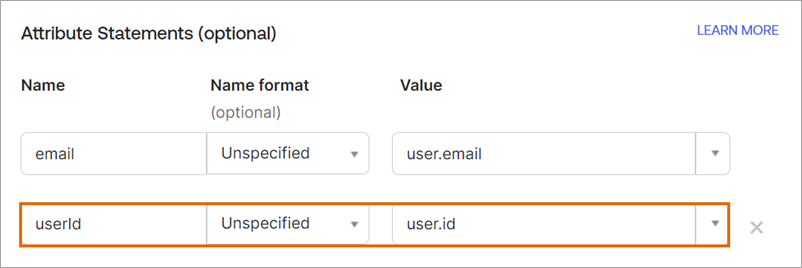
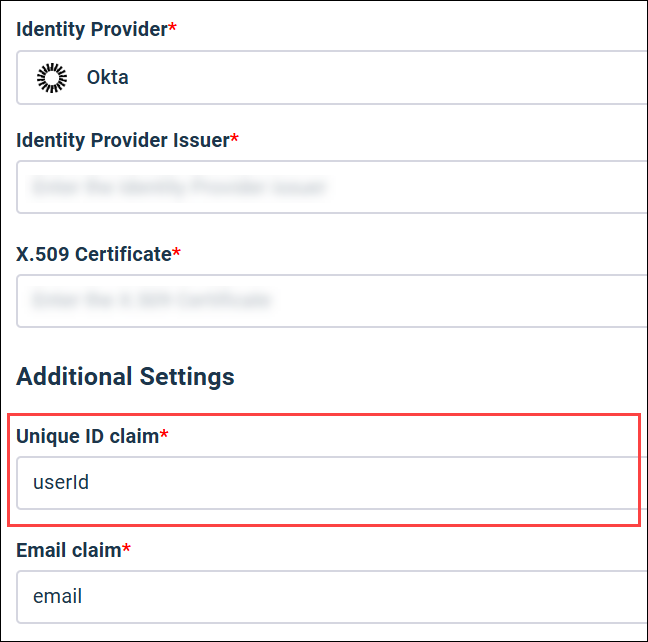
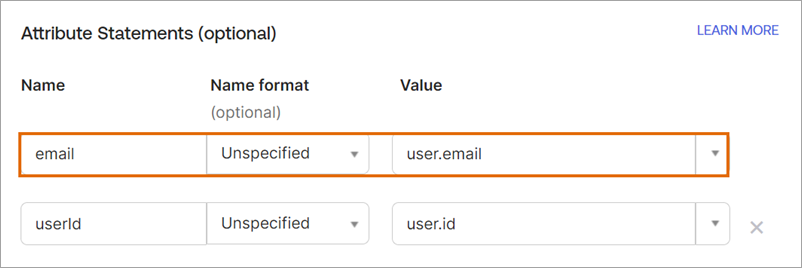
|
Value: userId
Matches Okta attribute:
|
Unique ID claim
|
|
Value: email
Matches Okta attribute:
|
Email claim
|

After you configure the SSO Settings page in Alida, you need to copy settings from the SSO Information page to your Okta configuration.
| Alida SSO Information page | Okta SAML 2.0 page |
|---|---|
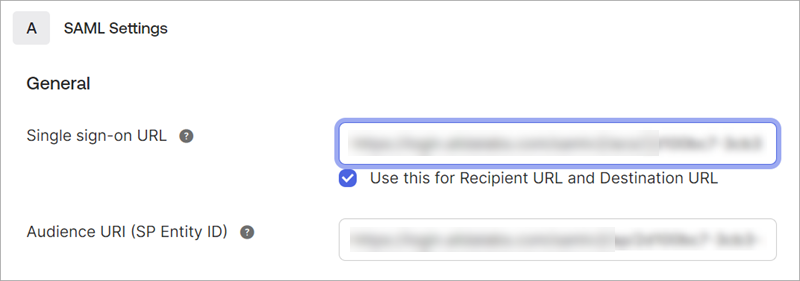
|
Single Sign-On URL
|
To: Single sign-on URL
|
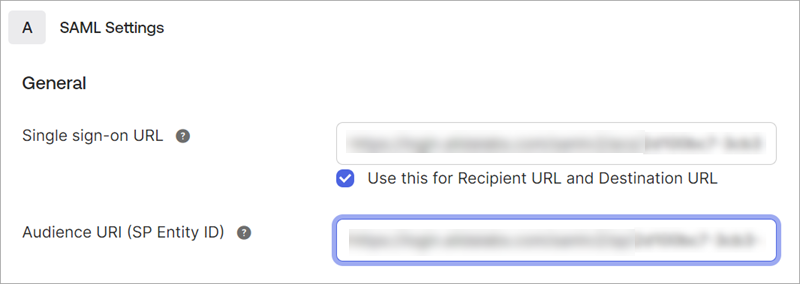
|
Audience Entity ID
|
To: Audience URI (SP Entity ID)
|
For detailed instructions, see Set up SSO with Okta.
OneLogin quick start
The following table lists the fields that you need to configure in the Alida SSO Settings page, and the corresponding fields in OneLogin with the required information.
| OneLogin | Alida SSO Settings page |
|---|---|
|
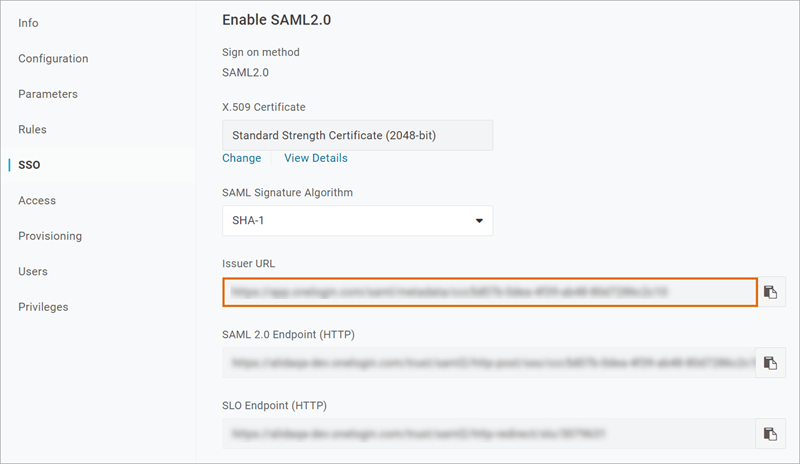
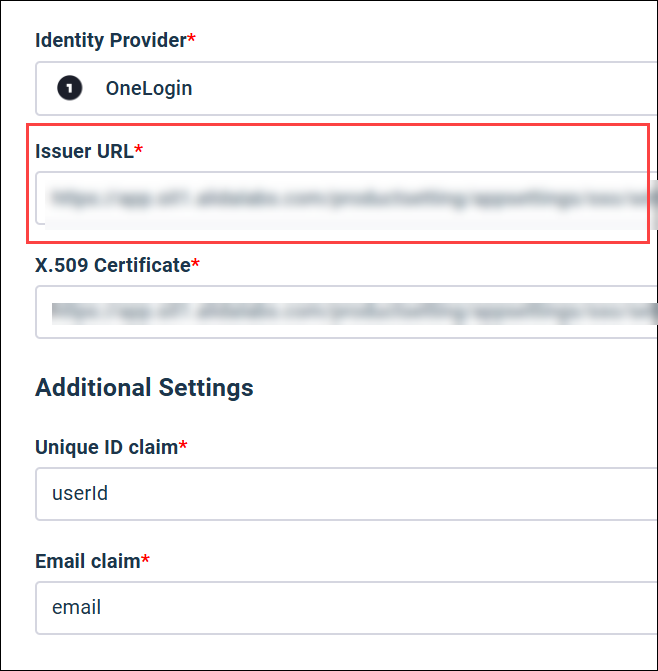
From: Issuer URL
|
Issuer URL
|
|
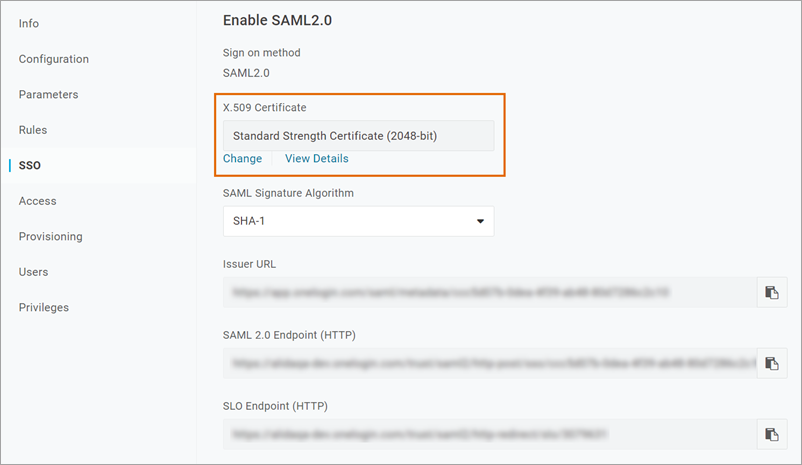
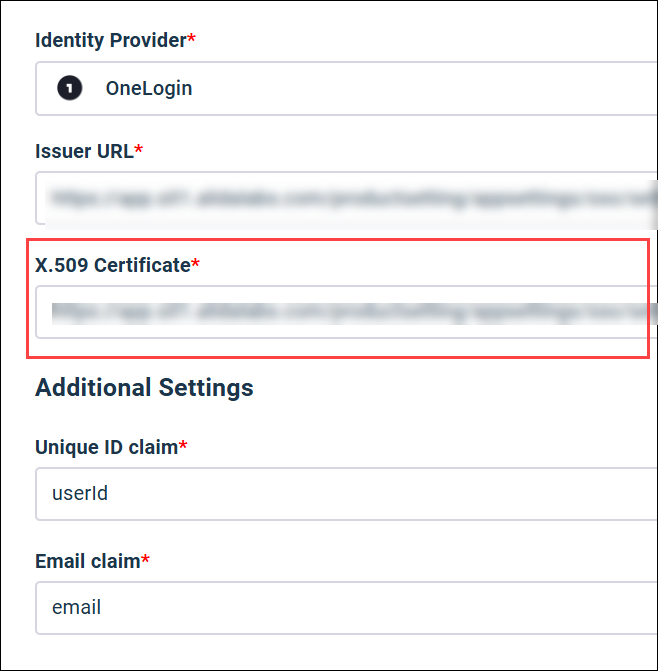
From: X.509 Certificate
|
X.509 Certificate
|
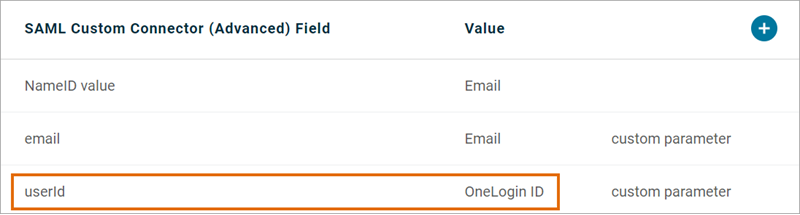
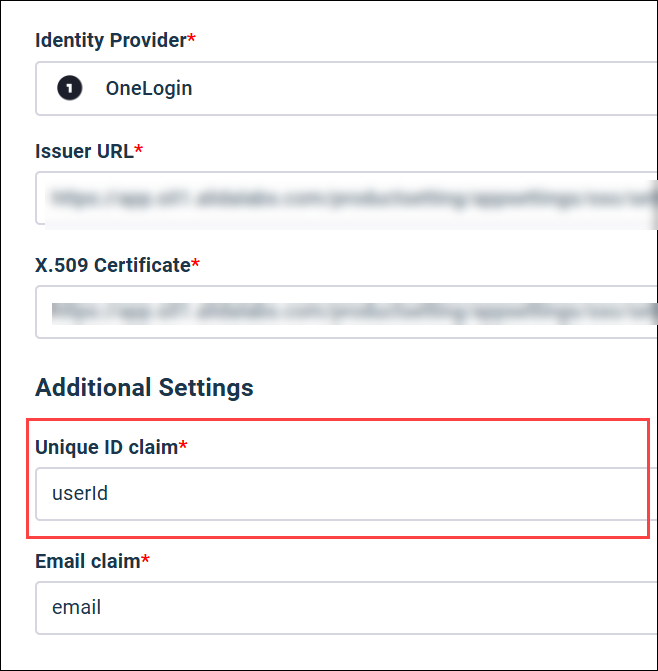
|
Value: userId
Matches OneLogin parameter:
|
Unique ID claim
|
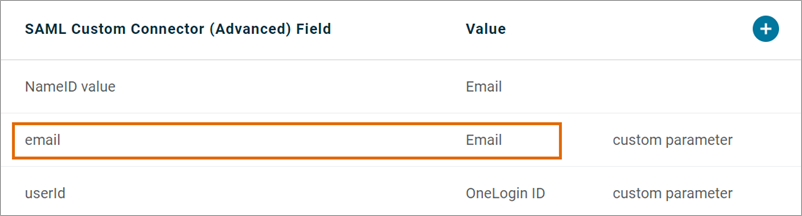
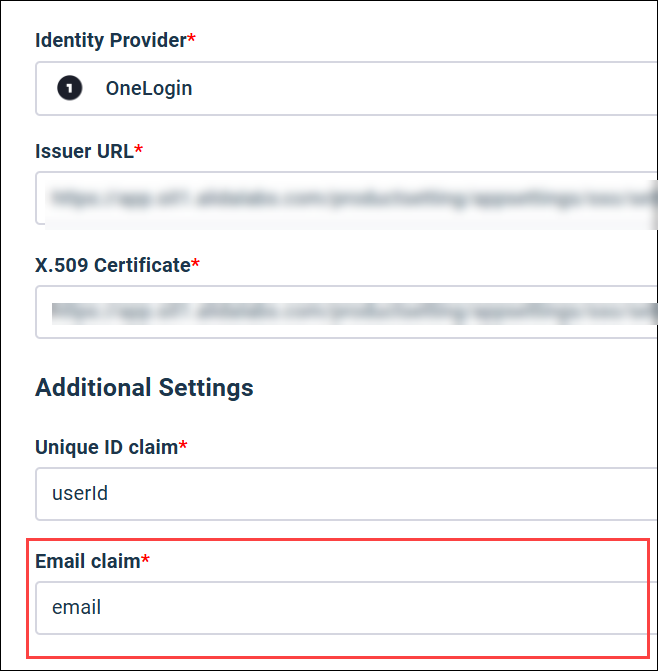
|
Value: email
Matches OneLogin parameter:
|
Email claim
|
After you configure the SSO Settings page in Alida, you need to copy settings from the SSO Information page to your OneLogin configuration.
| Alida SSO Information page | OneLogin SAML Custom Connector (Advanced) page |
|---|---|
|
Single Sign-On URL
|
To: Single sign-on URL
|
|
Audience Entity ID
|
To: Audience URI (SP Entity ID)
|
For detailed instructions, see Set up SSO with OneLogin.