Edit the member hub, forum and survey footer links
The footer links appear at the bottom of every page in forums and surveys, and on the unsubscribe page.
You can edit the footer by adding links and uploading and linking to files. For example, add a link to a technical support contact page, or upload your organization's privacy policy document.
-
Click the
App Drawer and select
Community Setup.

-
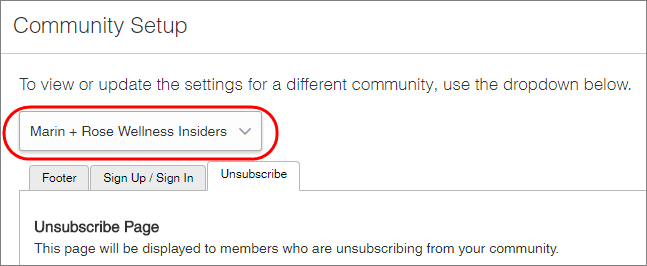
Choose a Community to edit.
This step applies only if you have multiple communities.

- Optional:
On the
Footer tab, create a footer link.
- In the Link Name field, enter the link text.
-
Select an option from the
Link to list.
Option Description URL Lets you enter a link. Links can start with:
http://https://mailto:
If no protocol is specified,
http://is used.File Lets you upload and host a file. See the instructions in the following step for more information. Support Email Address Displays the email address that participants use if they require technical support, as a footer link. The support email address is configured in Settings > Technical Config. Support URL Displays the link participants use if they have technical issues, as a footer link. The support URL is configured in Settings > Technical Config. Terms and Conditions URL Displays the terms and conditions link as a footer link. The terms and conditions URL is configured in Settings > Technical Config. Privacy Policy URL Displays the privacy policy link as a footer link. The privacy policy URL is configured in Settings > Technical Config.
- Optional:
Upload a file.
- In the Link Name field, enter the link text.
- From the Link to list, select File.
-
Click
Browse, select a file, and click
Open.
The maximum file size is 20 MB.
Category Supported formats Commonly used Microsoft Office - DOC
- DOCX
- XSL
- XSLX
Note: ePDF files are not supported because they lack the metadata that browsers require to load a file successfully. To work around this issue, save the ePDF as a standard PDF file and use the latter instead.
- Optional:
To add more footer links or upload more files, click
Add Footer Link, and then repeat steps 4 or 5.
You can have a maximum of 5 links or files. Each link has a maximum of 30 characters.
- Optional:
To delete a link or file, click
Remove Link.

-
In the
Edit Copyright field, enter your copyright
text.
The copyright text appears on forum and unsubscribe pages. The maximum number of characters for copyright text is 200.Tip: If you need to add or edit survey footer text, you must do so in theming. In the Surveys app, click Display Options and click Theming. Edit the settings in the Survey Footer section.
-
Click
Save.
Result:
A preview of your footer's appearance appears in the Footer Preview area.
Tip:To see the live changes to your hub, click Go to Portal Home Page.
The Go to Portal Home Page link takes these user types directly to the hub:
- Admins
- Power Users who have Can access sensitive data enabled