Add profile variables to a member hub
To avoid having to re-profile members, you can display profile variables on the member hub. This lets members update their own personal information.

By default, members can update the following pieces of profile information from :
- Display Name
- Email
Address
Note: If you are a member of multiple member hubs, Email Address cannot be changed.
- Password
Members can also update the values for other profile variables from .
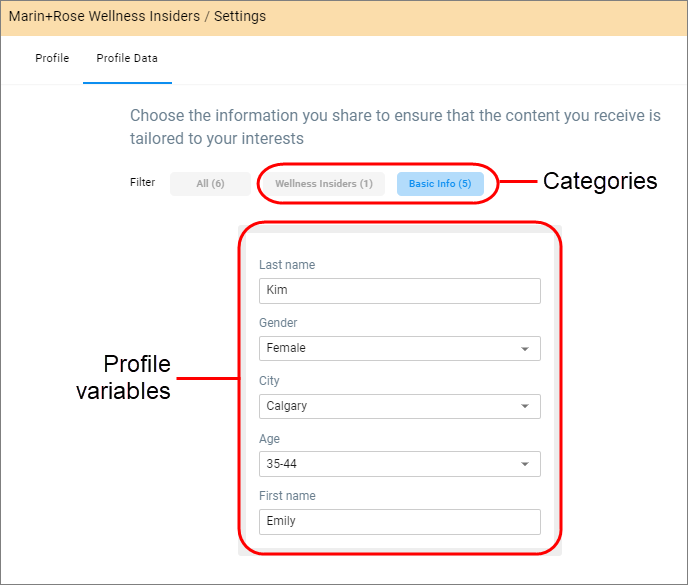
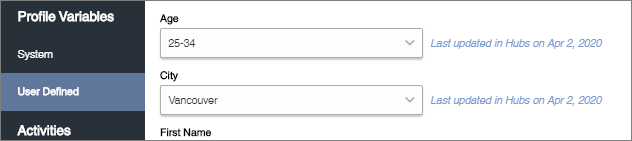
When members update their values in the member hub, their profile information is updated immediately. A "last updated" timestamp appears next to the changed value.
Note: The application keeps and displays the most recent value, whether
it comes from a member hub update or a CSV upload.
-
In a member hub, click
.

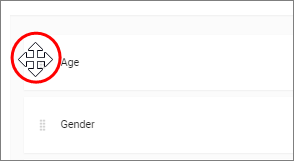
- Optional:
To re-order profile variables, hover over the left side until your
cursor becomes a crosshair, and drag the profile variables up or down.
- Optional:
Add and manage categories.
Categories let you organize profile variables in a way that makes sense for you and for members. On the member hub, they appear as filters in .
-
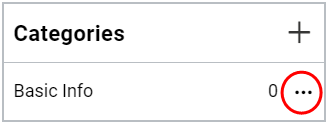
To edit a category name, in the Categories
area, click options menu and select
Edit.
Type the new name and click Save.
-
To edit a category name, in the Categories
area, click options menu and select
Edit.
-
To delete a profile variable from the display, click the delete
button.
