Create a Text and Image element

Provide participants with information about your survey.

With a Text and Image element, you can:

  • Create an introductory page describing the survey and how its results will be used.
  • Introduce a new series of questions.
  • Thank participants for participating.
  • Create a note in your survey.
Text and Image element from the participant's perspective

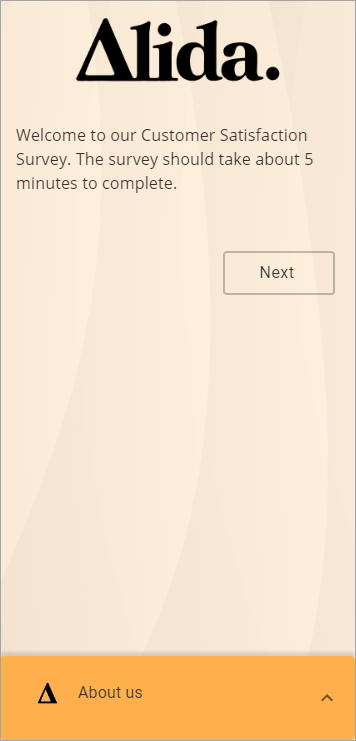
Sample modern view:

Sample classic desktop view:

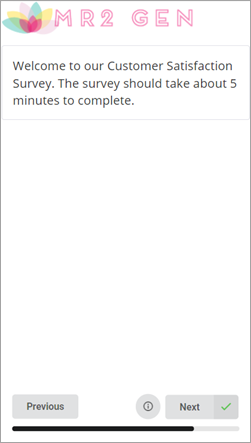
Sample classic mobile view:

  1. From the Survey Builder Toolbox, under Page Elements, do one of the following:
    • Drag the Text & Image element to the Table of Contents.
    • Click the Instruction element.
  2. In the Table of Contents, click the Text & Image element.
    Result: The Edit Pane appears.
  3. Edit the Instruction name.
    Instruction names:
    • Should be unique.
    • Can contain all alphanumeric characters and all symbols.
    • Are not displayed to participants.
    Note: The maximum number of characters is 100.
  4. In the Instruction Text field, enter the instruction text.
    Note: The recommended character limit is 2500.
  5. Optional: Add an image.
    Table 1. Modern view image specifications
    File formats
    • GIF, JPG, BMP or PNG
    File size
    • 2 MB or less
    Aspect ratios
    • Landscape (3:2)
    • Portrait (2:3)
    • Square (1:1)
    Image resizing
    • Images are resized to a maximum width of 900 pixels or a maximum height of 600 pixels.
    • Images smaller than the maximum allowable dimensions will be displayed using their original sizes and proportions.
    Table 2. Classic view image specifications
    File formats
    • GIF, JPG, BMP or PNG
    File size
    • 2 MB or less
    Image size
    • 960 pixels wide or less
    1. Click Add Image.
    2. Select or add your image.
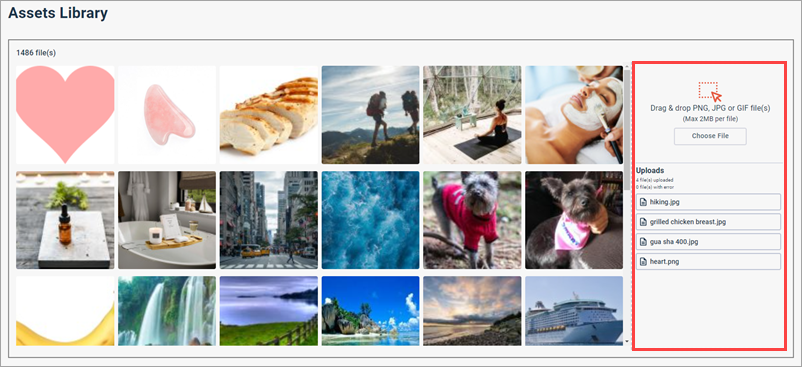
      • Select an image from the Assets Library.
      • Drag and drop an image from your computer into the right-hand side of the Assets Library.

        Tip: You can also use this method to upload multiple images at once. Press Ctrl or Shift as you multi-select images, and drag your selection.
      • Click Choose File, browse for the image file, and click Open.

        Tip: You can also use this method to upload multiple images at once. Press Ctrl or Shift as you multi-select images, and click Open.
    3. In the Alternative text field, type a description of the image that can be understood by text-only readers.
    4. Click Select.
      Result: A thumbnail of your image appears under your question text. Participants will now see your image when they view this question.
  6. Optional: To hide the page element, click Hide question.
  7. Optional: Once you have authored your instruction, you can also:
  8. Optional: To preview the element in desktop or mobile view, in the Edit Pane, click Preview.
    Result: A preview of your survey appears, starting with the selected element.
    Note: Preview in mobile view only simulates the mobile experience. For best results, preview your survey on a mobile device.