Generate a SCIM authentication token
You can manage the credentials your identity provider (IdP) needs to authenticate with the Alida platform.
You must set up SSO before you can access the User Auto-Provisioning page where you complete this task. The sequence of configuration tasks depends on your IdP:
-
For Azure and Okta, you must complete the SSO set up for your IdP (Set up SSO with Azure or Set up SSO with Okta) before starting this task.
-
For OneLogin, you will complete this task as part of the procedure for configuring SSO and SCIM in your IdP (Set up SSO and SCIM with OneLogin).
You can access the two pieces of information required to authenticate with the AIida SCIM API in the User Auto-Provisioning page:
- Base URL: This is the URL your Identity Provider (IdP) will use to connect to the Alida SCIM API endpoints. You will copy this value and configure it in your IdP as part of the SCIM provisioning setup.
- Tokens: You need to generate a unique token that enables you to securely access the Alida SCIM API and configure it in your IdP.
-
Copy the new
SCIM Access Token you generated and save it
securely.
The token is only displayed when it is initially generated. It is not available after you navigate away from the User Auto-Provisioning page, or the page refreshes.
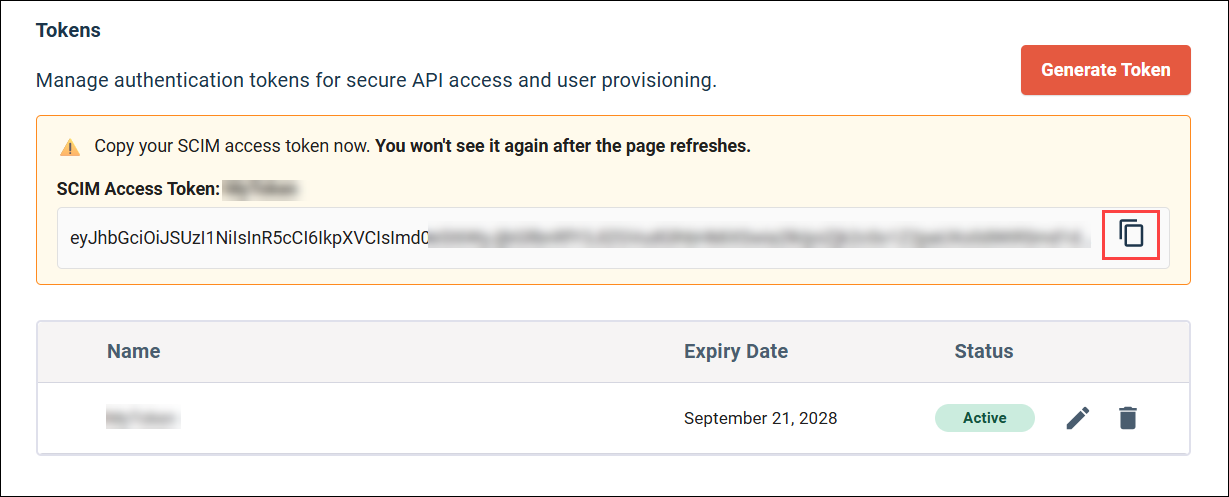
- You can delete tokens
that you are no longer using. If you delete a token that is in use, your IdP
will no longer be able to access the SCIM API.
To delete a token, click Remove next to the token, and click Delete in the confirmation dialog.

- You can edit the name of
a token, but you cannot modify the expiration date after it has been generated.
To edit the token name, click Edit next to the token, and then enter a unique name in the Token Name text box and click Update.
