Set up SCIM with Azure
This topic walks you through the process of setting up SCIM in Microsoft Azure.
Prerequisites:
Before you begin, you must complete the following prerequisite tasks:
- Set up SSO with Azure. You must configure SSO before you start setting up SCIM.
- Define the groups in Alida to map to your Azure groups.
- Generate an authentication token. Ensure
that you have access to the following settings from the Alida
User Auto-Provisioning page:
- Base URL: The Alida SCIM API endpoint URL.
- Token: The API token for authentication with the Alida SCIM API endpoints.
Important: Users will not be able to sign in to Alida while
the initial provisioning process is running. Plan your user auto-provisioning
roll-out at a time that minimizes user impact.
- Log in to the Azure Portal at https://portal.azure.com.
- Under Azure services, click Enterprise applications.
- Click the name of the SSO application you created for Alida.
- Select in the left menu.
-
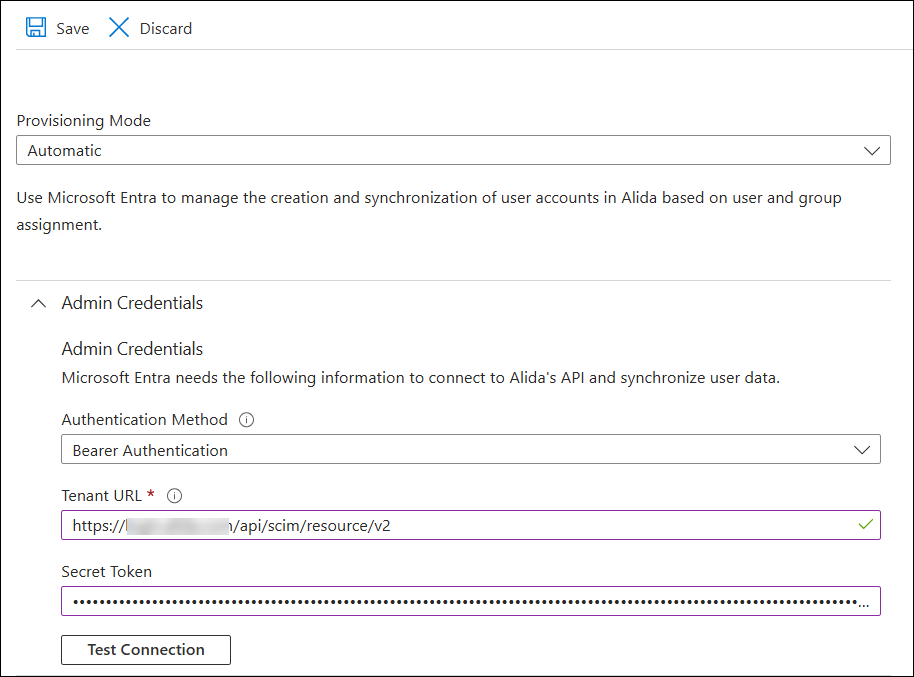
Configure your authentication credentials for connecting to the
Alida SCIM API:
-
In the
Secret Token text box, paste the Alida
Token value.
This is the token you previously generated in the User Auto-Provisioning page in Alida.
-
Click
Test Connection.
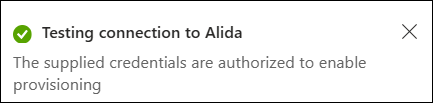
You should see a success notification confirming that Microsoft Entra can communicate with Alida. If it fails, double-check your URL and token.
-
In the
Secret Token text box, paste the Alida
Token value.
-
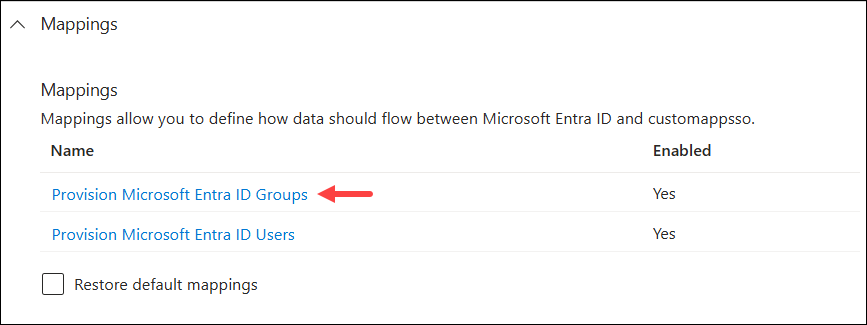
Configure attribute mappings to define how attributes are
synchronized between Microsoft Entra ID and Alida:
-
Click
Provision Microsoft Entra ID Groups.
-
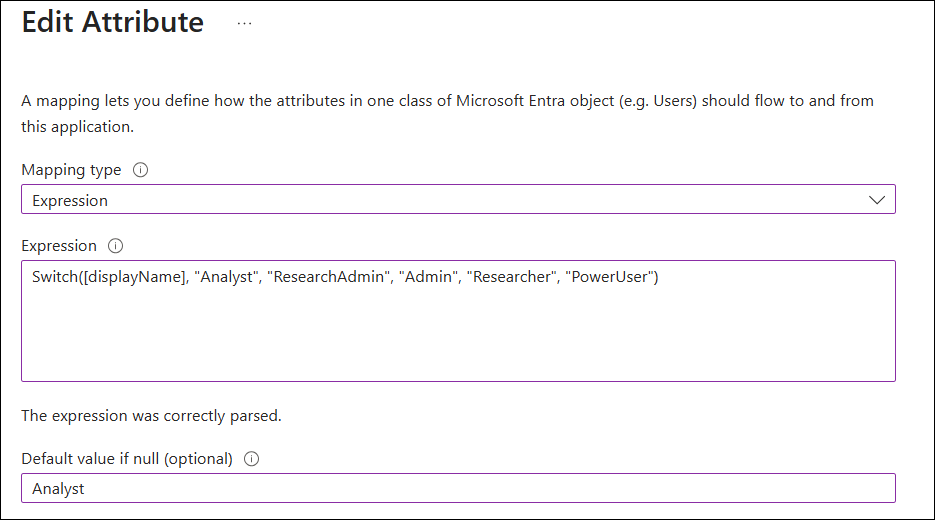
In the
Expression text box, enter an expression
that maps the SCIM groups defined in Alida to the groups in Microsoft Entra.
Use the
Switch()function which has the following syntax:Switch(<source>, <defaultValue>, <key1>, <value1>, <key2>, <value2>, ...)For example:Switch([displayName], "Analyst", "ResearchAdmin", "Admin", "Researcher", "PowerUser")Note: If you need to use a more complex expression, you can select the Show advanced options checkbox at the bottom of the Attribute Mapping page and then click Use the expression builder for assistance with building and verifying the expression.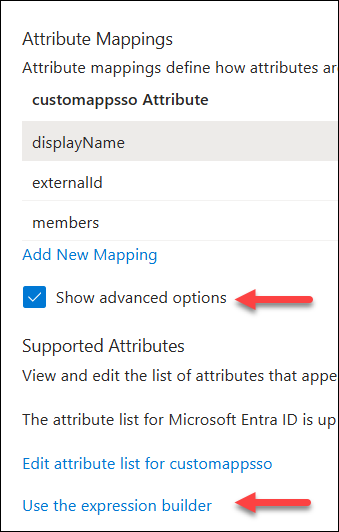
- Optional:
In the
Default value if null text box, enter
Analyst.
This ensures that users will be assigned to the group with the lowest level of access if the Expression returns a null value.
-
Click close in the top right of the page.

-
Click
Provision Microsoft Entra ID Groups.
-
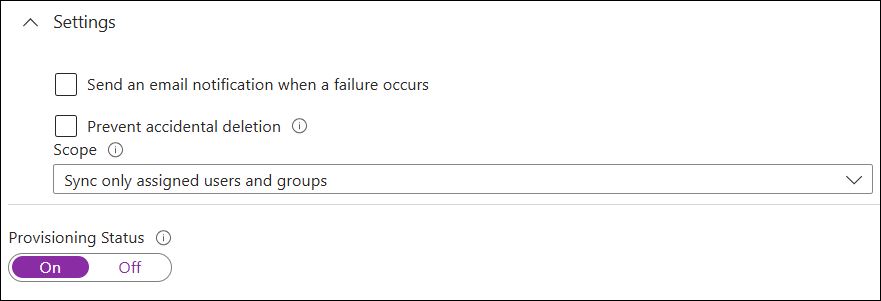
Turn on provisioning:
-
Click
Save at the top of the page.
-
Click
Save at the top of the page.
Provisioning will
begin. The initial cycle can take some time depending on the number of users
assigned.