Authoring an unmoderated usability test
Learn how to build a simple unmoderated usability test activity. This topic walks you through the key survey elements you need to include and how to configure them.
Authoring an unmoderated usability test is the second step in the unmoderated usability test workflow. The first step is screening and finding usability test participants.
An unmoderated usability test can include:
- An introductory welcome message
- Introductory questions that collect quantifiable data points and provide further context
- A Recording action (placed where you want to start recording)
- A Usability Task question that features a web-based resource or a Figma prototype
- Follow-up questions that allow participants to provide further context
- Figma: The activity asks participants to test a prototype for a feedback widget that will appear on a travel website.
- Website: The activity asks participants to go to the Alida website and find the Join the Team page.
| Example |
|---|
Figma prototype 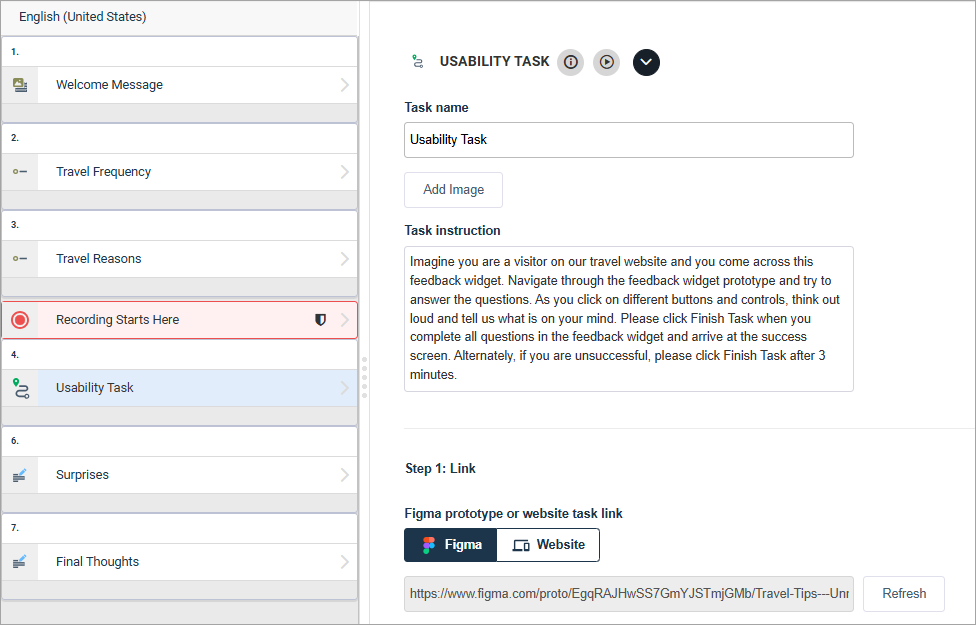 Website 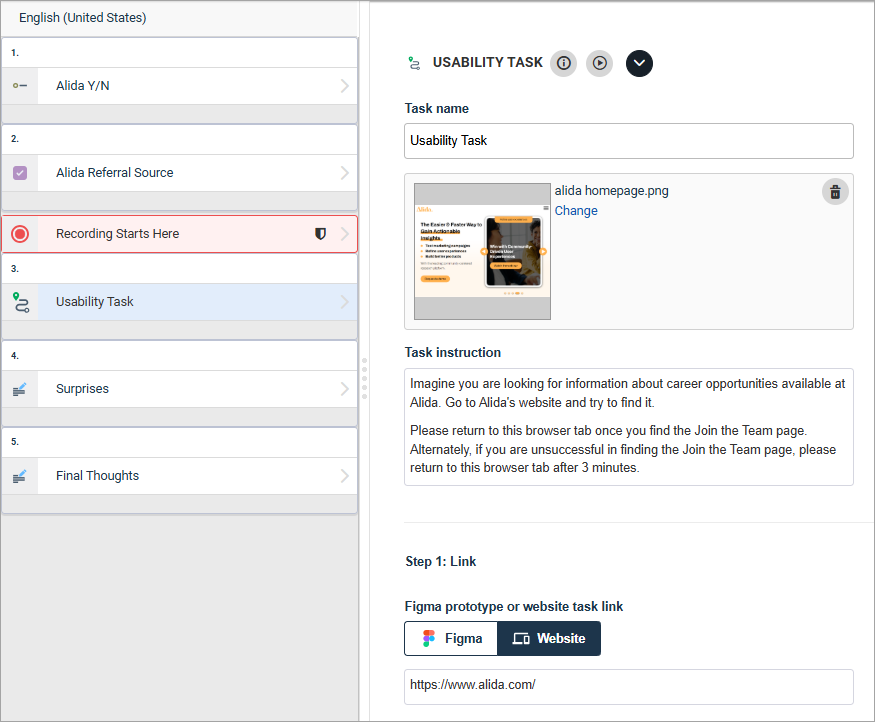 |
Authoring the beginning of the activity
- Create the survey.
Tip: The survey must be a modern survey. You can choose single response or multiple response depending on your methodology.
-
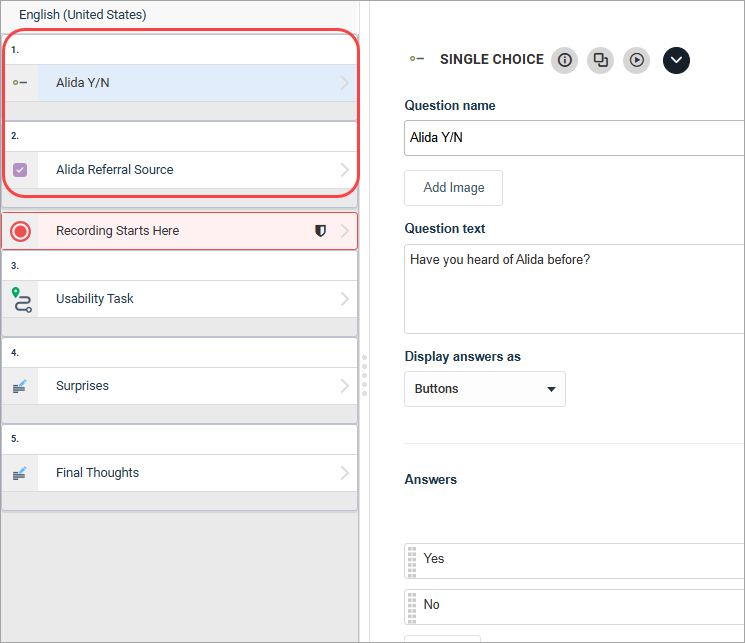
At the beginning of your survey, add welcome messaging and any questions that should precede the unmoderated usability test.
In the welcome message, provide participants more context about the goal of the study or the task. Use the preceding questions to collect helpful contextual data points in your analysis later.
For example, if you're testing a prototype of a travel website feedback widget, you can ask "How often do you travel?" or "What are your reasons for travelling?" If you're testing whether participants can find the career opportunities page on your website, you can ask "Have you heard of this company before?" or "How did you hear about this company?"
Adding a Recording action
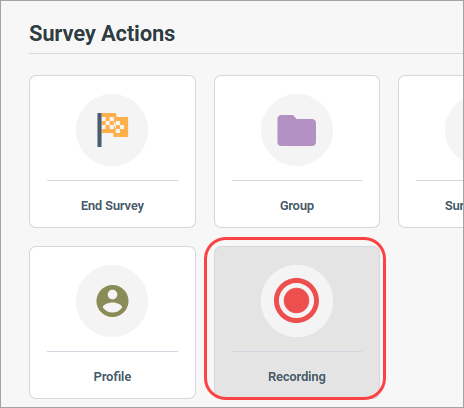
- Under Survey Actions,
click
Recording.
- In the Table of Contents,
click
Recording Starts Here.

Here's what you need to know about the Recording action:
- There can only be one Recording action per survey.
- Place the Recording action where you want to start recording. The Recording action must be its own top-level item and cannot be nested under anything else or on a survey page. It should be placed before the Usability Task question in the Table of Contents.
- Starting from the Recording action to the end of the survey, participants have 60 minutes to complete the task and any follow-up questions.
- If participants exceed 60 minutes, they will be marked as incomplete and the recording will not be available in the report. Participants will have to begin the task again.
- Screen recording is always on.
- You can select or clear Camera Recording (to record participants through their web cameras and capture video footage) or Microphone Recording (to record participants through their microphones and capture audio). Both are selected by default.
- Recordings are considered sensitive and will adhere to your data purge configuration.
- Recordings are only supported for desktop participants. Adding a Recording action to your activity therefore limits participation to desktop participants only.
For more information, see Create a Recording action.
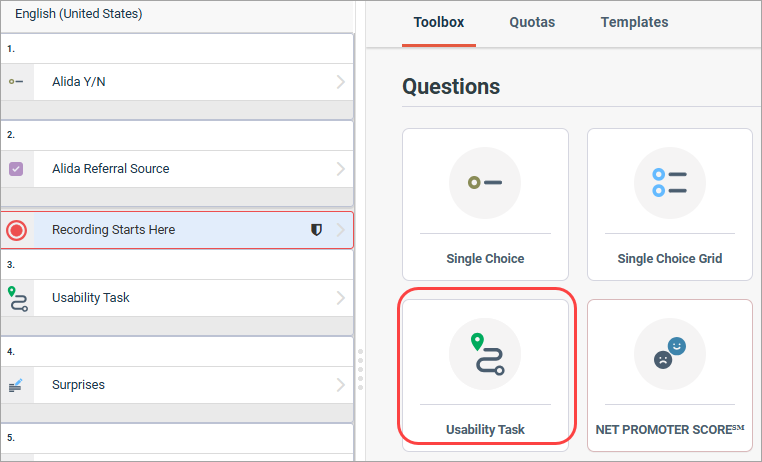
Adding a Usability Task
- Click
Usability Task.
- You can have as many Usability Task questions as you want in an activity.
- Each Usability Task question must be on its on survey page, and that survey page can only have the Usability Task question.
For more information, see Create a Usability Task question.
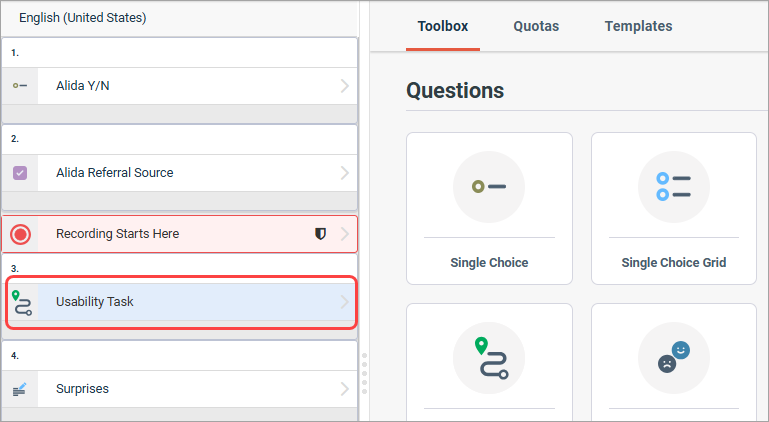
- In the Table of Contents,
click
Usability Task.
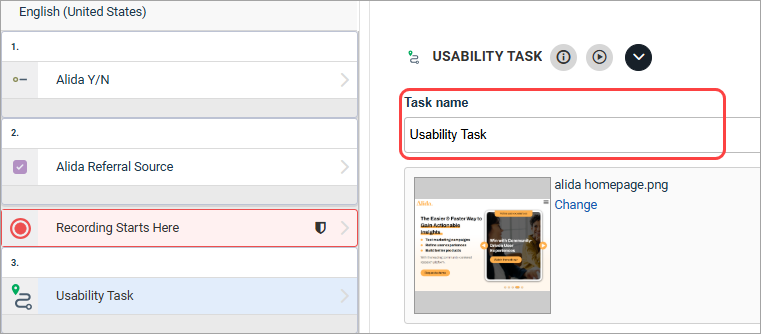
- Click the
Task name field and type a name for the
Usability Task question.
The next few steps are different depending on whether you are testing a resource available through a web link, or a Figma prototype.
Important: Once the activity is distributed, you cannot edit the Usability Task question by switching the task type between Figma and Website. For Figma prototypes, you cannot change the prototype link, edit the prototype (by adding or removing screens or changing flows), or change the start/end screens and path. These types of changes while the activity is in-field will adversely affect how success is defined and calculated and how heatmaps are compiled, and therefore adversely affect the accuracy of your reporting data. If you need to make changes, hide the old Usability Task question and create a new one.
Configuring a Figma prototype
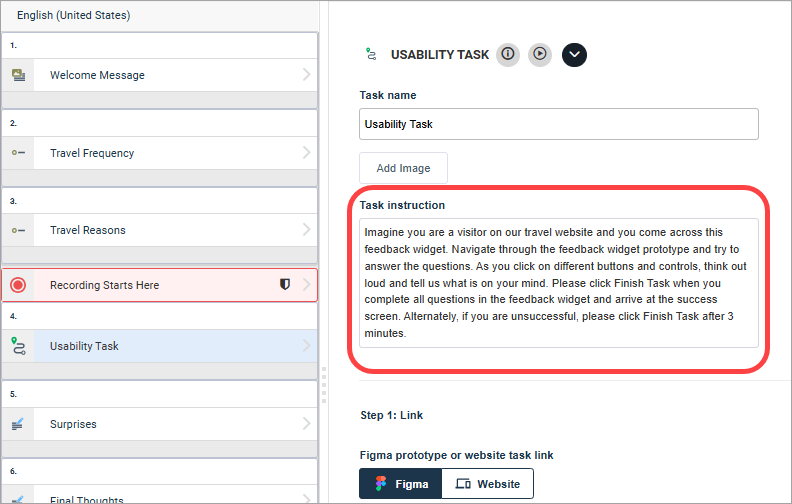
-
Click Task instruction and type the task instruction text.
For example, "Imagine you are a visitor on our travel website and you come across this feedback widget. Navigate through the feedback widget prototype and try to answer the questions. As you click on different buttons and controls, think out loud and tell us what is on your mind. Please click Finish Task when you complete all questions in the feedback widget and arrive at the success screen. Alternately, if you are unsuccessful, please click Finish Task after 3 minutes. "
For more tips on writing Usability Task questions, see Writing effective unmoderated usability test questions.
-
Click Figma.
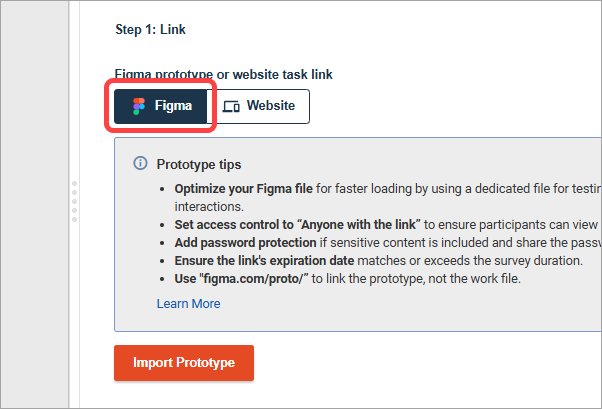
- Click
Import Prototype.
If this is your first time accessing Figma from the Alida platform, you are prompted to authenticate into Figma before you can import the prototype. Click Connect to Figma and follow the onscreen prompts. The token lasts 90 days once you're authenticated. If you belong to multiple communities, you'll need to authenticate again when you switch to a new community.
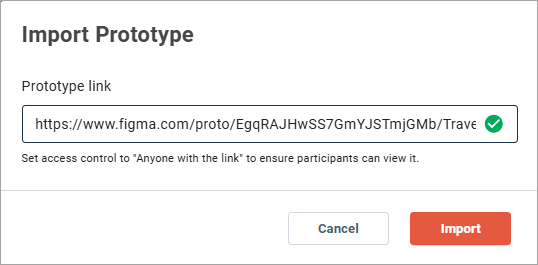
-
In the Prototype link field, type the URL to your Figma prototype and click Import.
 Follow these tips to optimize your Figma prototype for responding:
- Use a dedicated file for testing. Simplify layers, reduce image sizes, remove unused elements, and limit prototype interactions.
- Set access control to Anyone with the link to ensure participants can view it.
- Add password protection if sensitive content is included and share the password in the task instructions.
- Ensure the link's expiration date matches or exceeds the survey duration.
- Use figma.com/proto/ to link the prototype, not the work file.
For more information about optimizing Figma prototypes, see Best practices: Figma prototypes.
-
Define a start screen.
The start screen is where participants begin their experience in the prototype. If a flow is detected, the start screen is automatically set to the first screen of the first flow. Otherwise, the start screen is set to the prototype's initial screen.
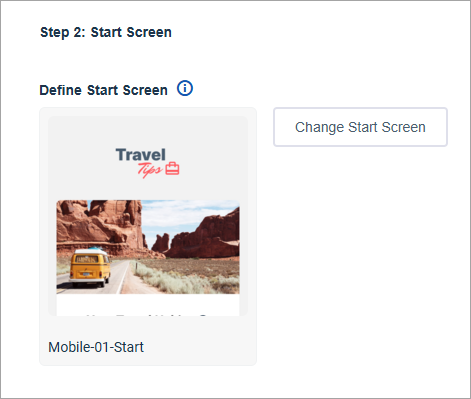
You can change the start screen to test a different screen or path by clicking Change Start Screen. Choose a different start screen, and then click Apply.
-
Choose a goal for the participants.
The goal depends on what you want to test:-
Path
Click Path if you want to validate the user journey in your prototype and ensure the flow is logical and intuitive.
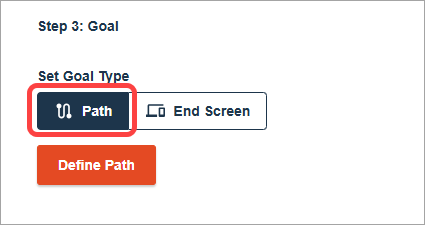
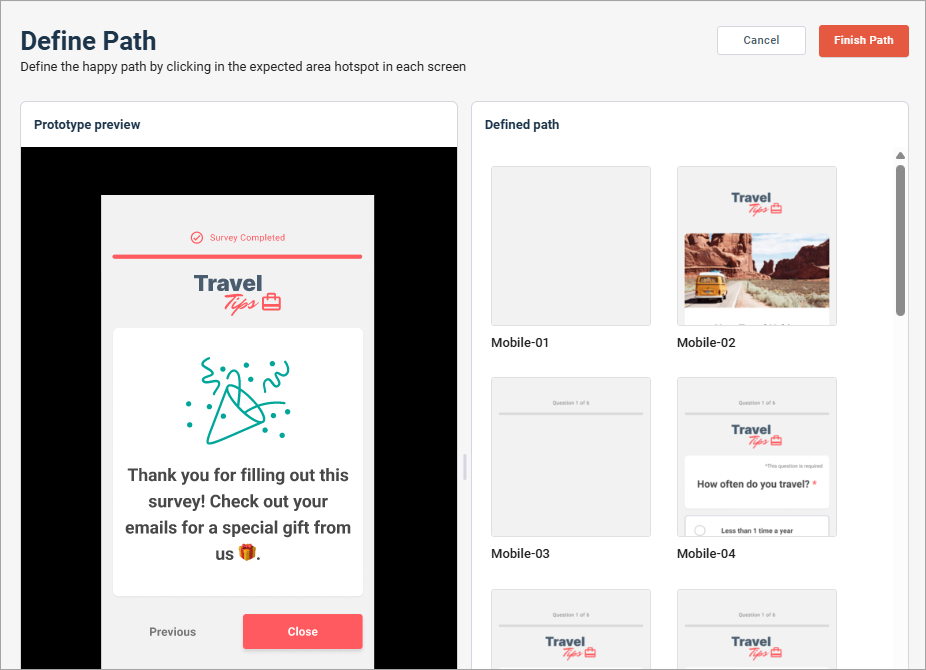
After you click Path, click Define Path.
On the left side, in the Prototype preview panel, click through the prototype as a participant would to define the happy path. Note that you can only click the hotspots that were pre-defined in Figma. As you click, the screen thumbnails appear in the Defined path panel on the right side. Ensure your path has at least two screens, and the final screen is not a screen that appears earlier in the path.
To delete screens from the path, hover over the thumbnail in the Defined path panel until you see the delete icon.
Click the thumbnail, and then in the Confirm Deletion dialog, click Delete Path. Deleting a screen from the end of the path will remove that screen only. Deleting a screen partway through the path will remove subsequent screens as well.
When you are finished, click Finish Path.
-
End Screen
Click End Screen if you want to test whether participants can arrive at a specific feature, button, icon, or screen successfully regardless of which path they take.
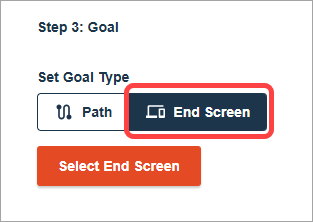
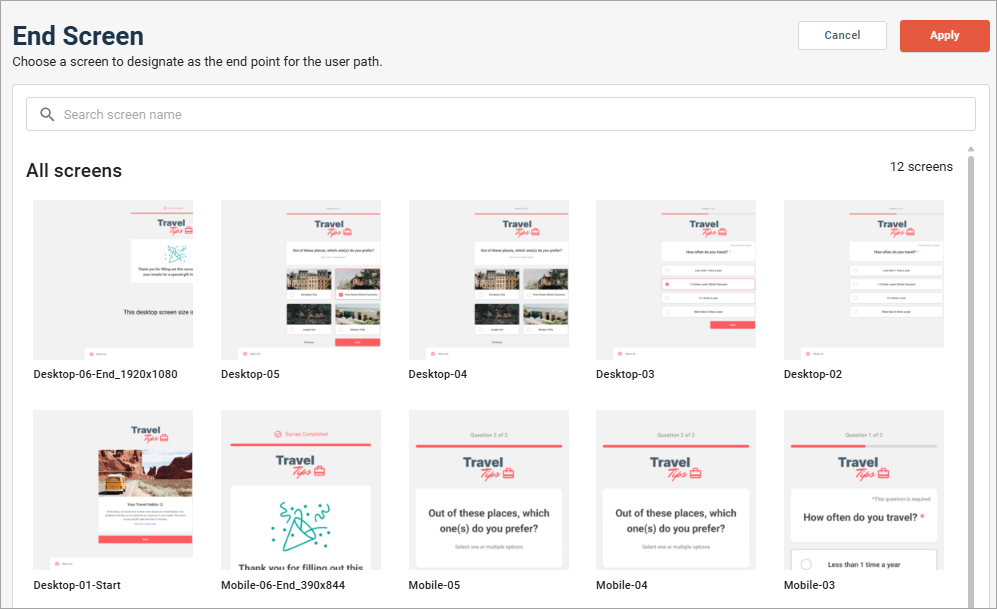
After you click End Screen, click Select End Screen.
Choose the final screen participants see. When you are finished, click Apply.
-
Configuring a website
-
Click Task instruction and type the task instruction text.
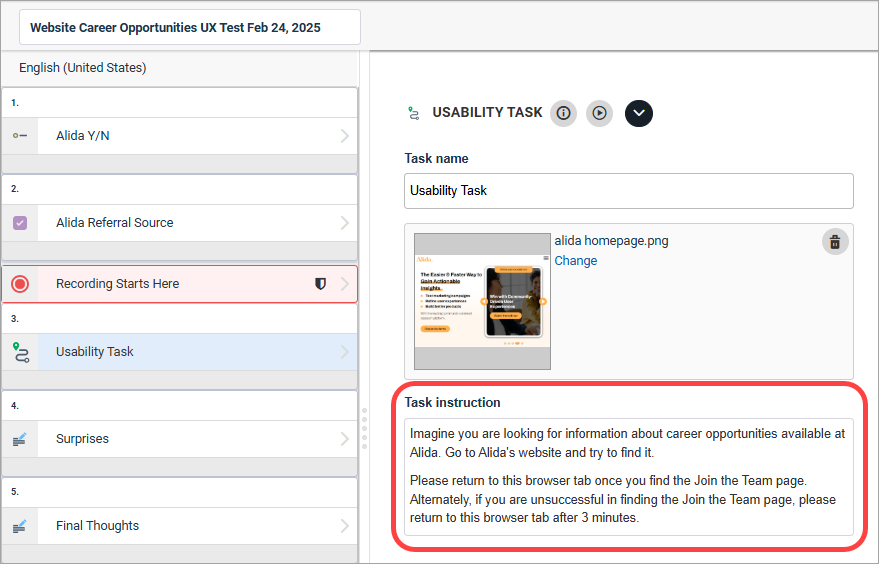
For example, "Imagine you are looking for information about career opportunities available at Alida. Go to Alida's website and try to find it. Please return to this browser tab once you find the Join the Team page. Alternately, if you are unsuccessful in finding the Join the Team page, please return to this browser tab after 3 minutes."
For more tips on writing Usability Task questions, see Writing effective unmoderated usability test questions.
-
Click Website.

-
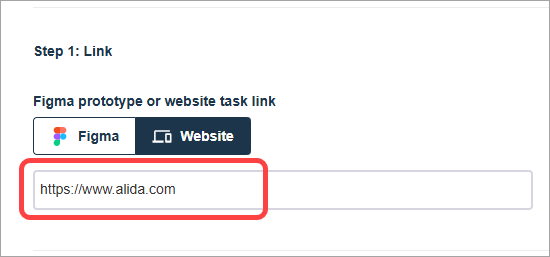
Click Task link and type the link to the usability task.
For example, if you are testing whether participants can find the Career Opportunities section of your website, you'd type the homepage URL here.
-
Click Task success question and type the question text.
For example, type "Were you able to complete the task successfully?"
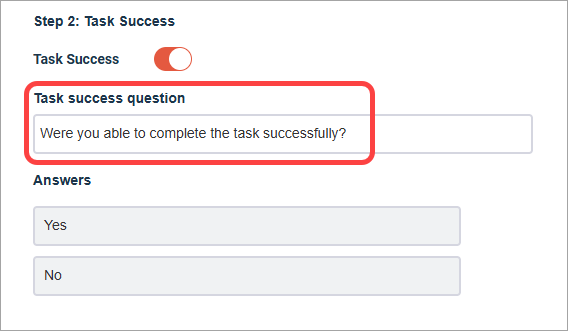
- The task success question is a quantifiable measure of whether participants were successful. We recommend leaving this on so you have the data point in reporting.
- Task success questions can be used in survey logic and quotas.
The final authoring steps
-
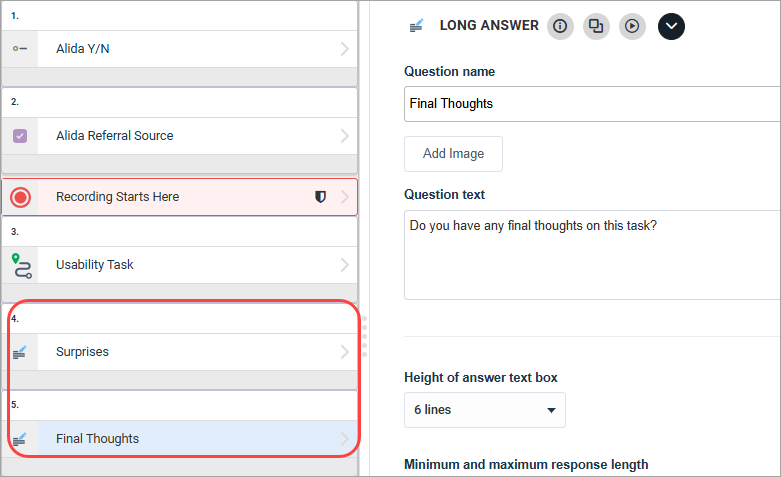
Add follow-up questions after the Usability Task question.
This is an opportunity for participants to provide additional context or comments. For example, you can ask "Was there anything about this task that surprised you?" or "Do you have any final thoughts on this task?"
For more tips on writing follow-up questions, see Writing effective unmoderated usability test questions.
Using entry quotas
Use an entry quota to limit the number of completes if you are aiming for a specific number.
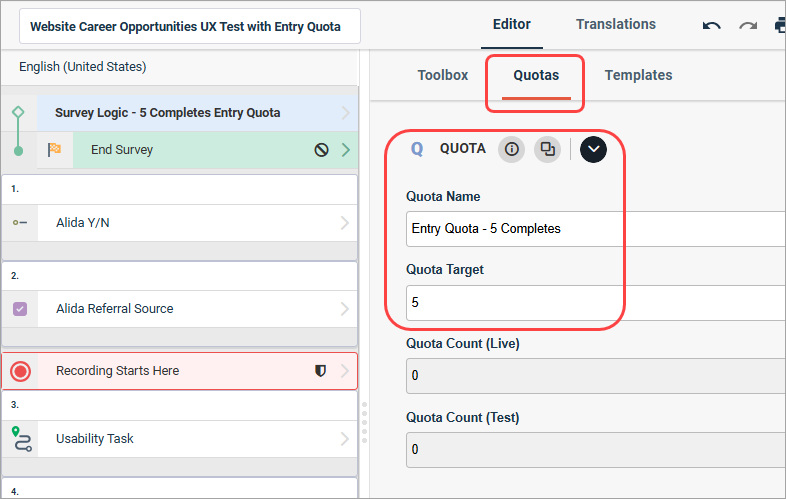
- Create a quota and give it
a descriptive name (for example, "Entry Quota - 5 completes"). We recommend
limiting completions to approximately 5-20 responses.
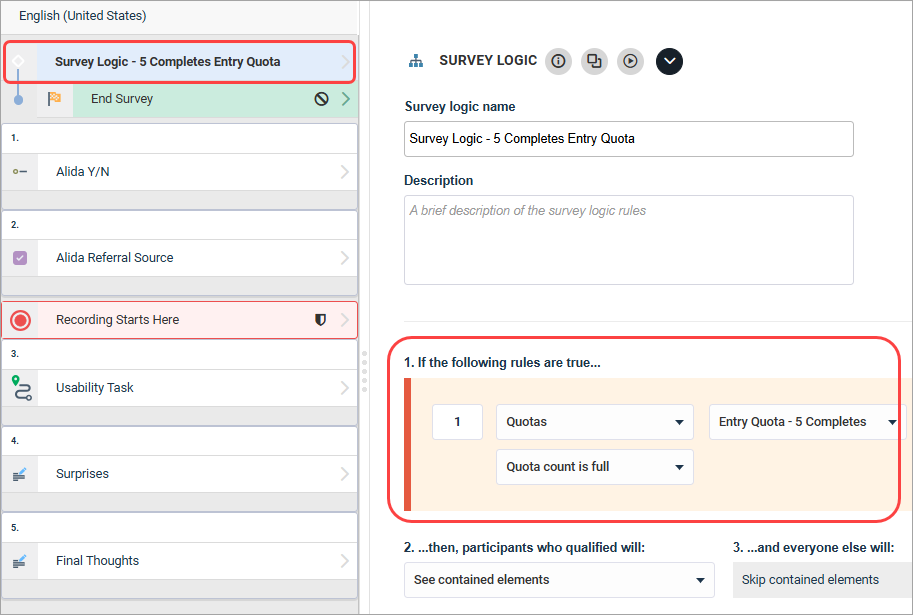
- At the beginning of your
survey, add a
Survey Logic action. Set the rule to
reference the quota you created. (For example,
Quotas
Entry Quota - 5 Completes
Quota count is full).
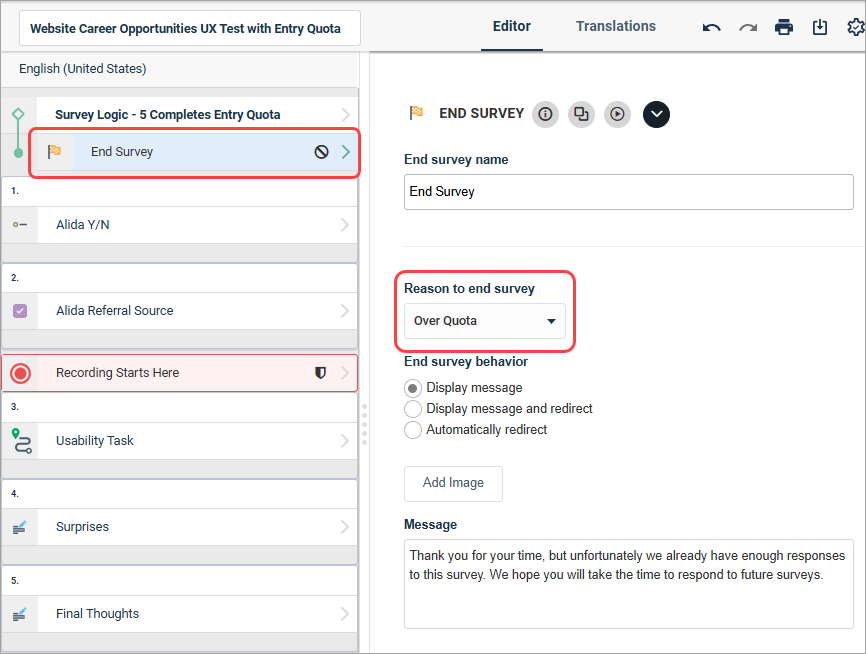
- Inside the Survey Logic
action, add an End Survey action. Set
Reason to end survey to
Over Quota.
After you author your activity, the next step is distributing the unmoderated usability test.