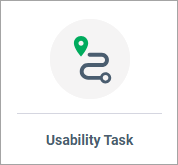
Create a Usability Task question
Ask participants to complete a task in order to capture and understand their experience when interacting with a digital interface. You can also choose to ask participants a follow-up question about whether they were successful in completing the task.
- This question type is available in modern view only.
- This question type works for desktop and mobile participants. However, if you use it in conjunction with the Recording action (which is only supported in desktop), participation will be limited to desktop participants only.
Including a Usability Task question in your survey is a key part of creating an unmoderated usability test. For more information, see The unmoderated usability testing workflow.
Need to get started with unmoderated usability testing fast? Check out our quick start guides:
Sample modern view:
Figma prototype
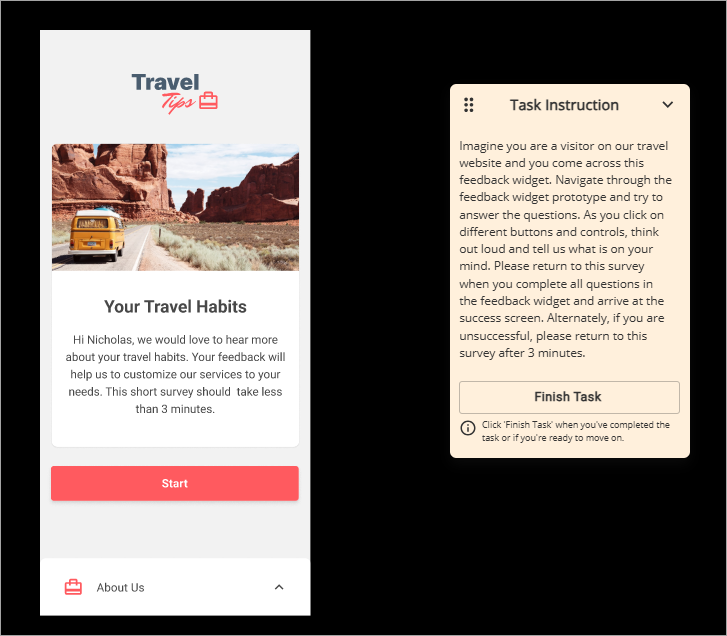
Website

-
In the Survey Builder
Toolbox, under
Questions, do one of the following:
- Drag the Usability Task question to the Table of Contents.
- Click the Usability Task question in the Survey Toolbox.
- Usability Task questions must occur after the Recording action.
- Each Usability Task question must be on its own survey page, and that survey page can only have the Usability Task question.
- You can have as many Usability Task questions as you want in an activity.
-
If you are testing a Figma prototype:
-
Set the goal type:
-
Path
- Select this option if you want to validate the user journey in your prototype and ensure the flow is logical and intuitive.
- After you click Path, click Define Path. You'll be prompted to click through the screens in your prototype to define the happy path that participants would take to get from the start screen to the end of the prototyped user experience. Ensure your path has at least two screens, and the final screen is not a screen that appears earlier in the path.
- On the left side, under Prototype preview, click through the prototype as a participant would. Note that you can only click the hotspots that were pre-defined in Figma.
- As you click, the Defined path screens appear on the right side.
-
To delete screens from the path, hover over the thumbnail in the Defined path panel until you see the delete icon.
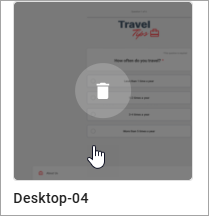
Click the thumbnail, and then in the Confirm Deletion dialog, click Delete Path. Deleting a screen from the end of the path will remove that screen only. Deleting a screen partway through the path will remove subsequent screens as well.
- When you are finished, click Finish Path.
-
End Screen
- Select this option if want to test whether participants can arrive at a specific feature, button, icon, or screen successfully, regardless of which path they take.
- After you click End Screen, click Select End Screen. You'll be prompted to choose the final screen participants see. When you are finished, click Apply.
-
-
Set the goal type:
-
To preview the Usability Task question, in the
Edit Pane, click
Preview.
 Result: A preview of the Usability Task question appears.Note: Although you can toggle between desktop and mobile in survey preview, once the survey is distributed, mobile participants will not be able to proceed to the Usability Task question if there is a Recording action preceding it. They will be prompted to switch to a desktop to proceed.