Quotas
A quota is a limit on the number of participants who can complete a survey, or answer a certain question.
For example, you may want to use quotas with:
- Incentives: Limit the number of participants receiving a reward.
- Video Feedback questions: Limit the number of video responses you receive to avoid exceeding your maximum video allowance.
- Balanced distributions: Ensure the survey data you are collecting will reflect ideal proportions. With quotas, you can avoid over-reliance on weighting (which can inadvertently skew results) later.
The following sections describe what the overall quotas workflow looks like.
Step 1: Create the quota
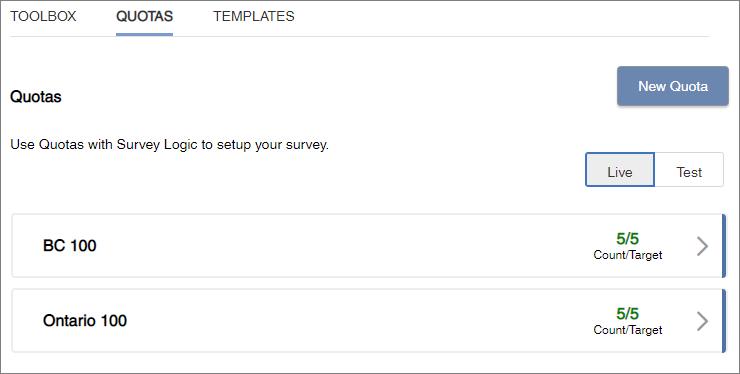
On the survey's Build page, from the Quotas tab, you can create and manage all quotas for a given survey.

After you create a quota, you must refer to it in a Survey Logic action to use it. Depending on where Survey Logic occurs, the quota can function in one of two ways:
- An entry quota prevents participants from starting the survey if the quota is full.
- An in-survey quota prevents participants from completing questions or sections within the survey if the quota is full.
- Place an entry quota at the beginning of the survey.
- An in-survey quota must always occur after the question it references, in the Table of Contents.
- Quota counts include all completed responses across different languages. Use the respondent variable Respondent Locale to create quotas specific to locales.
- Quota counts are incremented upon survey completion. Therefore, it is possible for quota counts to exceed the quota targets if multiple participants complete the survey at once.
Step 2: Test the quota
Preview the survey and proceed through the questions. As you do this, you can change the Quota Count (Test) number, which controls which survey completion to start counting the quota target from. This way, you can see what the experience is like as a participant before and after the quota is full.
For more information, see Test a quota.
Step 3: Monitor incoming completions
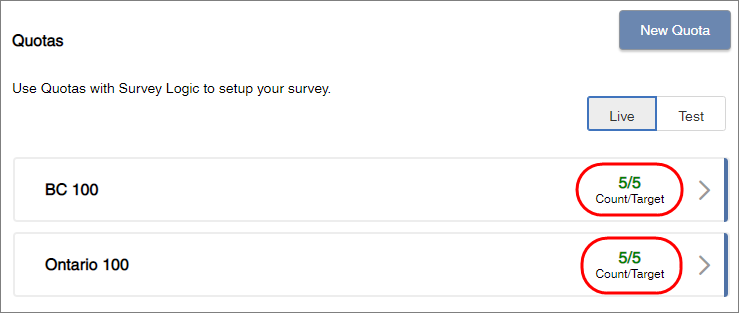
You can check the incoming completions by monitoring the counts on the Quotas tab.
- The number on the left reflects the quota count, while the number on the right is the quota target.
- When a quota count reaches its target, both numbers turn green.
- A blue line on the far right of the quota box indicates the quota is active.

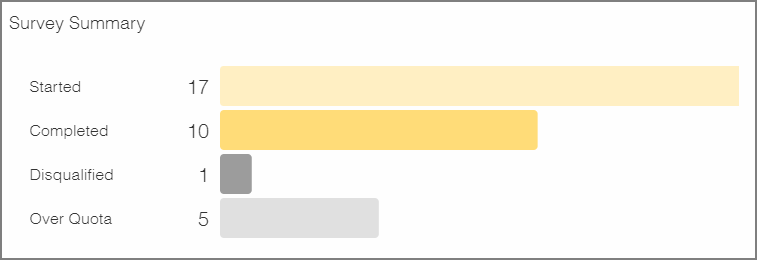
In Monitor, the Survey Summary displays the total number of Over Quota participants.

In the Survey Path area, you can see the exact point in the survey where participants were marked Over Quota.

Step 4: Analyze survey results
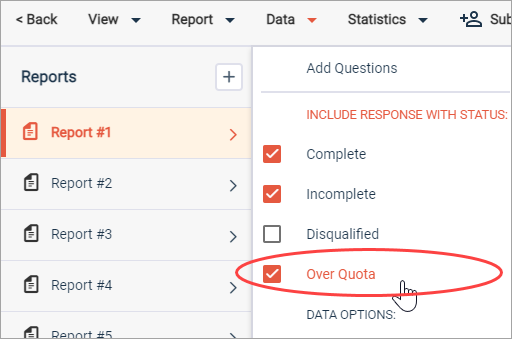
In reporting, you can view Over Quota responses by selecting Over Quota in the data display options.

