Add an image to an answer

Display images alongside your answer or card text, or hide the text and display only images.

Prerequisites:
Table 1. Modern view image specifications
File formats
  • GIF, JPG, BMP or PNG
File size
  • 2 MB or less
Aspect ratios
  • Landscape (3:2)
  • Portrait (2:3)
  • Square (1:1)
Image resizing
  • Images are scaled down to fit the size of the answer options.
  • For Single Choice Buttons and Multiple Choice questions, answer images are scaled down to a maximum height of 184 pixels.
Table 2. Classic view image specifications
File formats
  • GIF, JPG, BMP or PNG
File size
  • 2 MB or less
Image size
  • 960 pixels wide or less
Answers with images from the participant's perspective

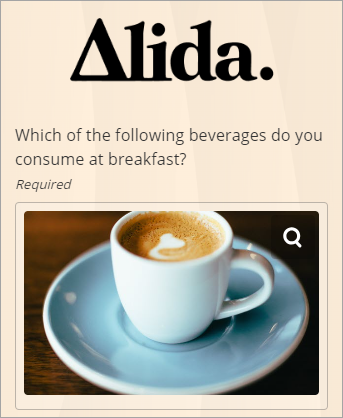
Sample modern view:

In modern view, if the answer options contain text and images, the text will appear below the image and aligned to the left.

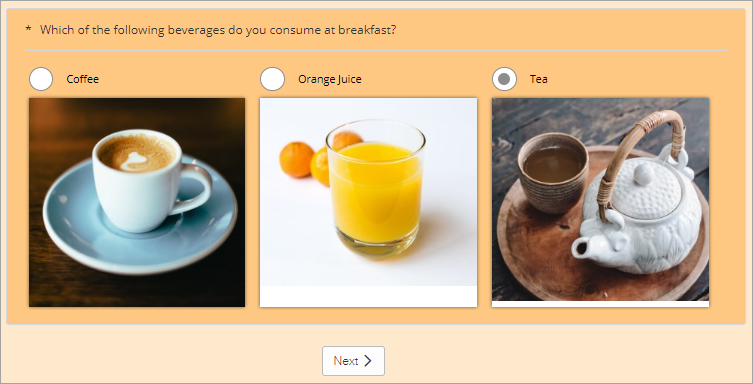
Sample classic desktop view:

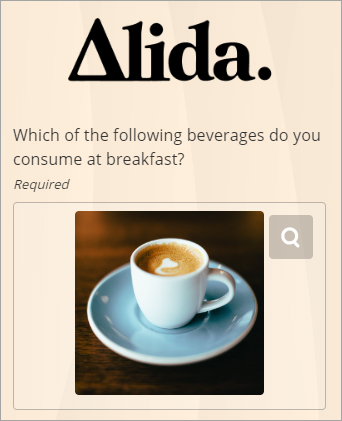
Sample classic mobile view:

Within your survey, you can add images to answers in the following question types:

Note:
  • You are limited to one image per answer.
  • On desktops, oversized images will automatically be scaled down to fit your answer. The maximum width for thumbnail images is:
    • Choice questions: 160px
    • Single Choice Grid Cards questions: 300px

    Participants can click the thumbnail images to view the full-size versions.

  • On mobile devices, an image will appear indented if the screen is wider; otherwise, the image will be scaled down to fit the entire width of the screen.
  1. Beside the answer, row, item, or attribute, click Add image.
  2. Select or add your image.
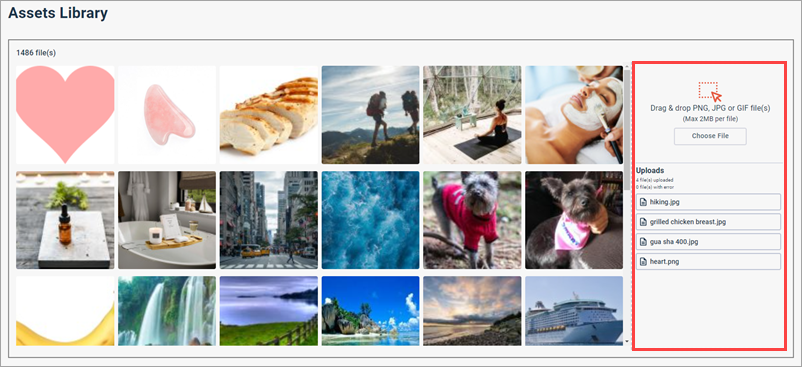
    • Select an image from the Assets Library.
    • Drag and drop an image from your computer into the right-hand side of the Assets Library.

      Tip: You can also use this method to upload multiple images at once. Press Ctrl or Shift as you multi-select images, and drag your selection.
    • Click Choose File, browse for the image file, and click Open.

      Tip: You can also use this method to upload multiple images at once. Press Ctrl or Shift as you multi-select images, and click Open.
  3. In the Alternative Text field, type a description of the image that can be understood by text-only readers.
  4. Click Select.
    Result: A thumbnail of your image appears under your question text. Participants will now see your image when they view this question.
  5. Optional: For each answer image, select Fill or Fit.
    • Fill adjusts the image to fill the entire width of the answer tile.

    • Fit maintains the image's original proportions while ensuring the image still fits within the answer tile.

  6. Optional: To display your answer images without any accompanying text, select Image only.
    Result: Participants will not see your answer text, but it will still appear in reporting to identify your answer.
    Note: If you add an image to a question or answer option without adding a label in the Question or Answer text fields, the titles for corresponding questions, rows, or columns will be blank in your report.
  7. Optional: To replace the image, click Change.
  8. Optional: To remove the image, click Remove Image.
    Note: The image is removed from the current location in the survey. It is not removed from the Assets Library. For more information, see Remove images from the Assets Library.
  9. Optional: To preview the question in desktop or mobile view, in the Edit Pane, click Preview.
    Result: A preview of your survey appears, starting with the selected question.
    Note: Preview in mobile view simulates the mobile experience. For best results, preview your question on a mobile device.